
How You Can Fix Foggy Double Pane Windows Step by Step
You can fix foggy double pane windows by first removing the sealed glass unit carefully from its frame. Foggy double pane windows often result from moisture trapped between the panes, which reduces visibility and insulation efficiency. Addressing this issue promptly can restore your window’s clarity and performance.
Then, gently separate the panes using a heat source to soften the seal and thin blades to pry them apart without damage. Clean the glass thoroughly, replace the spacer with a quality desiccant spacer, and reseal the edges with weatherproof sealant to prevent moisture.
After reassembling and installing the window, it should stay clear again. Keep following these steps to guarantee lasting clarity and efficiency.
Identify Foggy Double Pane Windows and Seal Failure Signs
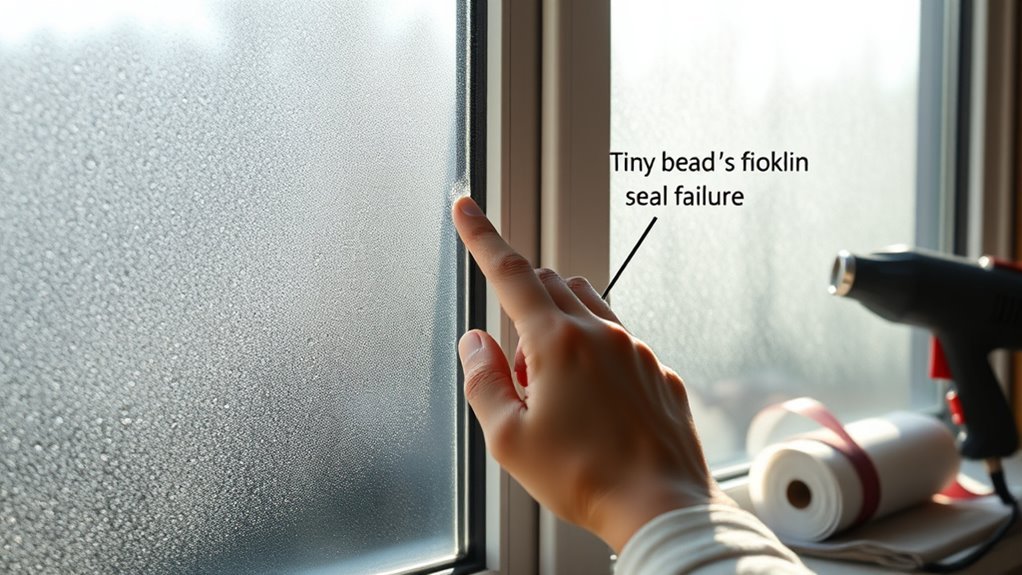
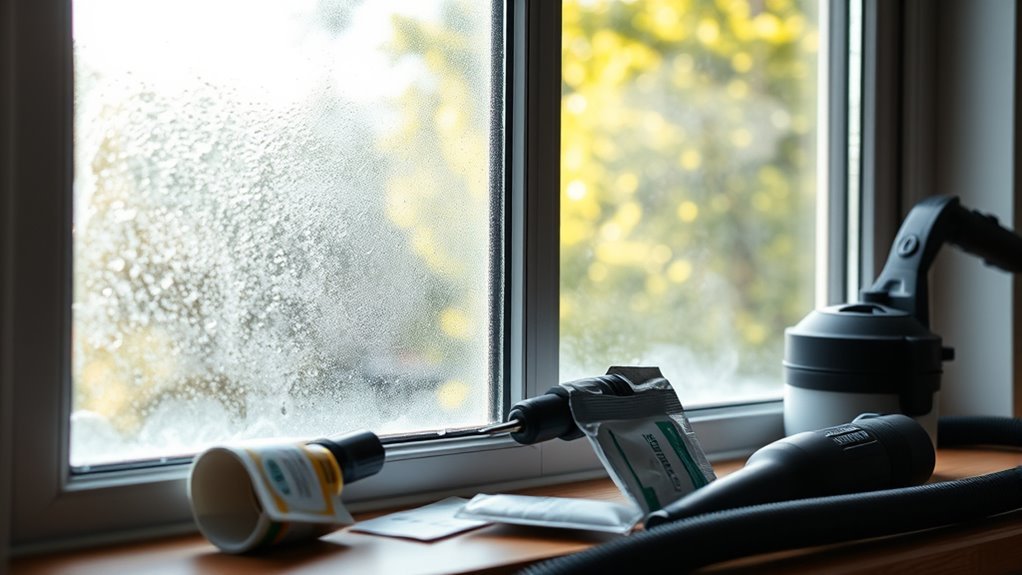
When you notice a cloudy or milky appearance between the glass layers, it usually means your double pane window has a seal failure. Foggy windows are a clear sign that the insulating gas or desiccant inside the window has been compromised, letting moisture in. You’ll often see persistent fogging that won’t go away even after cleaning the glass.
This seal failure reduces the window’s insulation performance, making your home less energy efficient. Over time, broken seals allow condensation to build up, which can lead to mold growth and damage to the window frame. Common causes include the age of the window, harsh weather exposure, and improper installation.
Recognizing these signs early helps you address the problem before it gets worse.
Gather Tools and Materials for Foggy Window Repair
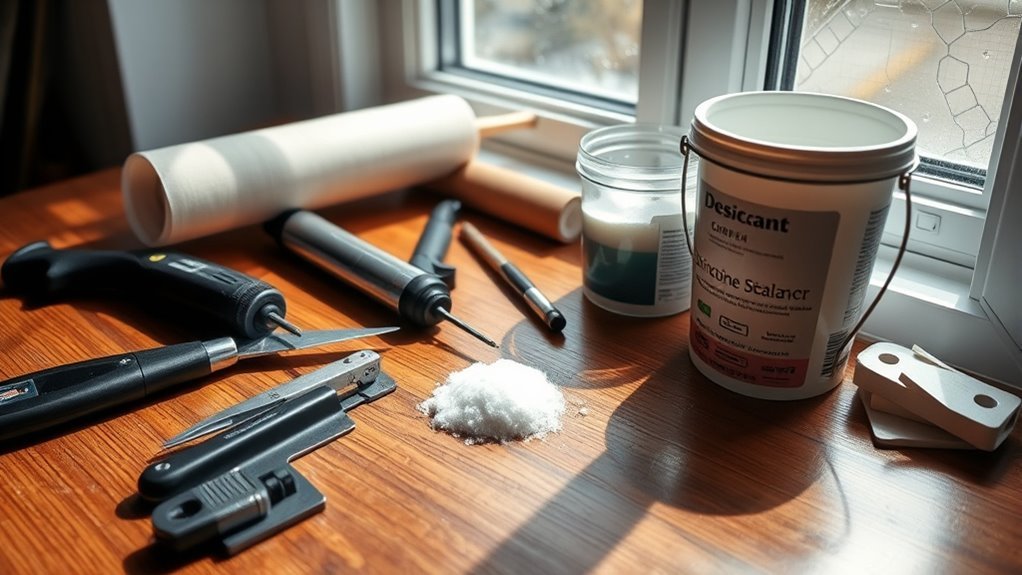
Before you start repairing your foggy double pane window, gather all the necessary tools and materials to guarantee a smooth process. Essential tools include a power caulk gun for applying sealant, razor blades for precise trimming, a heat gun to soften old sealant, and a plastic guide to ensure a clean seal.
You’ll need a CR Laurence Super Spacer to replace the failed seal, along with silicone sealant like CRL 877 to create a durable new seal. Cleaning supplies such as denatured alcohol will help prep surfaces, while solvents like acetone assist in cleanup.
Optional items include scrap wood for alignment and inert gas like argon if you plan to refill the spacer. Having all these tools and materials ready ensures your repair goes efficiently and effectively.
Remove the Foggy Window From Its Frame Safely

Before you start, gather the right tools and clear your workspace to avoid accidents. Use a flat tool to gently loosen the window beading strips without damaging them.
Then, carefully extract the sealed window unit, keeping it steady to prevent any cracks or scratches.
Prepare Tools And Workspace
Although removing a foggy double pane window can seem tricky, you can do it safely by loosening screws or clips while firmly supporting the glass. Before starting disassembly, gather all necessary tools like a screwdriver, utility knife, gloves, and eye protection. Set up a clean, flat workspace covered with soft cloths to protect the glass from scratches once removed.
Carefully detach any beading or sealant strips around the window edges using your tools, taking care not to damage the frame. Always wear gloves and eye protection to guard against sharp edges or shards. Measure the window’s height, width, and thickness accurately before proceeding further with repairs or replacement.
Preparing your tools and workspace thoroughly ensures a smooth, safe removal process.
Loosen Window Beading Strips
When you’re ready to remove the foggy window, start by locating the beading strips around the frame’s perimeter that hold the sealed unit in place. Examine the beading carefully; if it’s secured with clips or screws, remove them first using a screwdriver.
Then, take a thin, stiff-bladed tool like a putty knife and gently pry the beading strips away from the frame, starting at a corner. Work slowly and apply even pressure to avoid damaging the beading or the window frame. Continue prying around the edges until the beading loosens.
This careful approach ensures the beading remains intact and ready for reinstallation. Once loosened, you’ll be set to proceed with removing the foggy window safely without risking cracks or bends.
Carefully Extract Window Unit
Once you’ve loosened the beading strips around the frame, you can start extracting the foggy window unit. First, use a utility knife to carefully cut any sealant or caulking around the window’s perimeter.
Next, gently pry the window glass from the frame, applying even pressure around the edges to avoid cracking the glass or damaging the seal. Support the window’s weight with both hands throughout the removal process to prevent dropping or bending it.
Use a flat-head screwdriver or beading removal tool to carefully remove any remaining clips or beading. Finally, place the removed window on a soft, clean surface to protect the glass while you prepare for repair or replacement. Proper window removal ensures the glass stays intact and ready for restoration.
Clean the Glass and Prepare to Separate Panes
Start by removing all surface dirt and drying the glass thoroughly to prevent any interference during the repair.
Take a close look at the seal’s condition to spot any cracks or damage. This careful preparation will make separating the panes much smoother.
Remove Surface Dirt
How do you make certain your double pane windows are ready for repair? Start by removing surface dirt to ensure a clean glass surface for resealing. Thorough cleaning prevents dirt from compromising the seal and causing future fogging.
| Step | Action |
|---|---|
| 1. Cleaning Solution | Use denatured alcohol and a lint-free cloth |
| 2. Scrubbing | Gently scrub with steel wool for stubborn stains |
| 3. Wiping | Remove all residue with a clean, dry cloth |
| 4. Inspecting | Check for cracks or chips and repair before continuing |
This process guarantees the glass is free of grease, dust, and moisture, which is essential for a proper seal and long-lasting repair.
Dry Glass Thoroughly
After removing all surface dirt and inspecting for damage, you need to clean and dry the glass thoroughly before separating the panes. Proper cleaning removes dirt, grease, and residues that can interfere with sealing later.
To guarantee the glass is perfectly dry and ready, follow these steps:
- Use a lint-free cloth and a cleaning solution like denatured alcohol to clean both sides of the glass panes carefully.
- Dry the glass completely using a microfiber cloth or compressed air to eliminate any moisture and prevent water spots.
- Set up a clean, well-lit workspace and gather your tools to handle the glass gently and separate the panes precisely.
This thorough cleaning and drying process helps maintain glass integrity and prepares you for the next step.
Inspect Seal Condition
While cleaning the glass thoroughly with denatured alcohol and a lint-free cloth, you’ll want to inspect the seal edges closely for any cracks, gaps, or signs of deterioration that signal seal failure.
Pay special attention to areas where moisture buildup is evident, as this often indicates a compromised seal condition. If you spot any damage, you’ll need to prepare for pane separation.
Use a heat gun or gentle warmth to soften the sealant, making it easier to pry apart the panes without causing damage. Set up clean, dry towels beneath the window to catch any moisture or debris released during the process.
Carefully using plastic tools or putty knives, gently separate the glass panes, avoiding scratches or cracks, so you can properly address the foggy window issue.
Separate Double Pane Glass Without Causing Damage
When you carefully heat the edges of the window frame with a heat gun or hairdryer, the sealant softens, making it easier to pry the glass panes apart without causing damage. This step is vital before replacing the glass in a double pane unit.
To separate the glass pane without harming the window seal, follow these tips:
- Use thin, stiff blades like a putty knife to gently work around the edges, avoiding excessive force that might crack the glass or damage the spacer.
- Work slowly and evenly around the perimeter to relieve stress on the glass pane.
- Handle the glass with both hands, supporting it evenly to prevent slips or accidental breakage.
Keeping your workspace clean also helps protect the glass during removal.
Install a Spacer to Maintain Proper Pane Separation
Installing a spacer between the two glass panes is essential to keep them properly separated and maintain the window’s insulation. The spacer, typically ½ to 1 inch wide, ensures uniform separation and prevents seal failure.
High-quality spacers, like CR Laurence Super Spacers, contain desiccant to absorb moisture and reduce fogging. Use a guide or jig to align the spacer straight along the edges. Securely adhering the spacer before applying the seal guarantees ideal insulation and long-lasting clarity.
| Spacer Type | Width Range | Key Benefit |
|---|---|---|
| CR Laurence Super | ½ inch – 1 inch | Moisture absorption |
| Aluminum Spacer | ½ inch – ¾ inch | Durable support |
| Foam Spacer | ½ inch – 1 inch | Flexible insulation |
| Silicone Spacer | ⅜ inch – ¾ inch | Strong seal support |
Apply Sealant to Prevent Moisture Intrusion
To keep moisture from sneaking in, you’ll need to pick the right sealant—one that’s weatherproof and sticks well to your window’s material. Use a caulking gun to apply a smooth, continuous bead around the window frame, making sure there are no gaps.
Finish by smoothing the sealant and letting it cure fully before exposing the window to moisture.
Choosing The Right Sealant
Although selecting the right sealant might seem straightforward, choosing a high-quality, weatherproof option like CRL 877 or silicone caulk is essential to keep moisture from seeping into your double pane windows. The right sealant guarantees long-lasting adhesion and creates a barrier against weather elements.
When picking your sealant, consider these factors:
- Weatherproof qualities – It must withstand rain, wind, and temperature changes without breaking down.
- Strong adhesion – The sealant should bond firmly to glass and frame surfaces to prevent gaps.
- Durability – Opt for products designed for exterior use that resist cracking or shrinking over time.
Choosing a sealant that meets these criteria helps maintain your window’s insulation and prevents future fogging caused by moisture intrusion.
Proper Application Techniques
Selecting the right sealant sets the foundation, but applying it correctly makes all the difference in keeping moisture out of your double pane windows. Start by thoroughly cleaning the glass surfaces with denatured alcohol and steel wool to guarantee proper adhesion.
Next, apply a continuous, even bead of high-quality sealant, like CRL 877, around the spacer’s perimeter. Use a steady hand or guide to maintain consistent application and avoid over-application, which can weaken the seal.
Seal the edges immediately after application to block any moisture before the sealant cures. Finally, let the sealant cure fully per manufacturer instructions before exposing your window to humidity. Proper sealant application and curing are vital to preventing fog and prolonging your window’s clarity.
Reassemble and Seal the Window for a Tight Fit
Once you’ve aligned the glass panes properly within the frame, you’ll want to apply a consistent bead of high-quality sealant around the edges to create an airtight bond. Make sure each pane is properly seated in the window frame before sealing to prevent air or moisture leaks.
Align glass panes carefully, then apply a continuous bead of sealant for an airtight, moisture-proof fit.
Follow these steps:
- Use a caulk gun to evenly apply sealant around all edges, filling any gaps.
- Smooth the sealant with your finger or a finishing tool to ensure a tight, flush seal.
- Secure beading strips around the perimeter to hold the window firmly and maintain seal integrity.
When to Replace Foggy Double Pane Windows Instead of Repairing
After carefully resealing your window, you might expect the fogging to clear up, but sometimes repairs just don’t hold. If your double-pane windows are over 15-20 years old and window fog persists despite multiple attempts, it’s time to contemplate replacement windows.
Repeated seal failure or moisture buildup signals that repairs won’t restore proper clarity or insulation. Also, if you notice extensive frame damage or multiple foggy units, repairing isn’t cost-effective.
Investing in new windows improves energy efficiency and long-term durability, especially if your current units have structural deterioration. When repair costs exceed the price of replacement, swapping out the entire window unit is the smarter choice to eliminate window fog and ensure lasting results.
Prevent Foggy Windows and Extend Seal Lifespan
To prevent foggy windows and extend the lifespan of your double-pane seals, you need to stay proactive with regular inspections and maintenance. Seal failure often results from moisture infiltration, so addressing issues early is vital.
Here are three key steps to help you:
- Perform routine window maintenance by checking seals for cracks or damage and applying weather stripping or caulking to prevent air leaks.
- Control indoor humidity with dehumidifiers and proper ventilation to minimize condensation inside the window panes.
- Use windows with high-quality Low-E coatings to protect seals from UV damage and temperature fluctuations.
Frequently Asked Questions
How to Fix Double-Pane Windows That Are Cloudy?
You can fix cloudy double-pane windows by drilling small holes and injecting desiccants to clear moisture.
However, for a lasting fix, you’ll want to replace the sealed unit or hire a professional to guarantee a proper, secure seal.
How to Fix Foggy Double-Glazed Windows?
Did you know 90% of foggy double-glazed windows fail due to seal leaks? You can drill tiny holes to remove moisture, inject an anti-fog solution, then reseal or replace the glass for clear, insulating windows.
Is There a Way to Get Moisture Out of a Double-Pane Window?
Yes, you can get moisture out by drilling tiny holes, using desiccants, or specialized defogging kits to flush out moisture.
For persistent fogging, replacing the sealed unit is usually the most effective solution.
How to Repair Fogged up Windows?
Start by sealing small spots, swiftly sucking out stubborn steam. Then, swap shattered seals, scrupulously smoothing silicone spacers. Stay sharp, sealing surfaces securely, so your windows won’t weep water again.
Replace units if fogging persists.
Conclusion
Fixing foggy double pane windows takes focus, finesse, and fastidiousness. By following these steps, you’ll fight fog, fix faulty seals, and fortify your frames for fresher, clearer views. Don’t forget to frequently find and fix small flaws to fend off future fogging.
Whether you’re repairing or replacing, remember that maintaining moisture-free, mistless windows means more light, less labor, and lasting loveliness. Stay sharp, stay safe, and see your space shine!
Regular maintenance and timely repairs are key to preventing foggy double pane windows. Use these tips to ensure your windows stay clear and your home stays comfortable and energy-efficient.