
Why Is My AC Pan Full of Water and How Do I Fix It
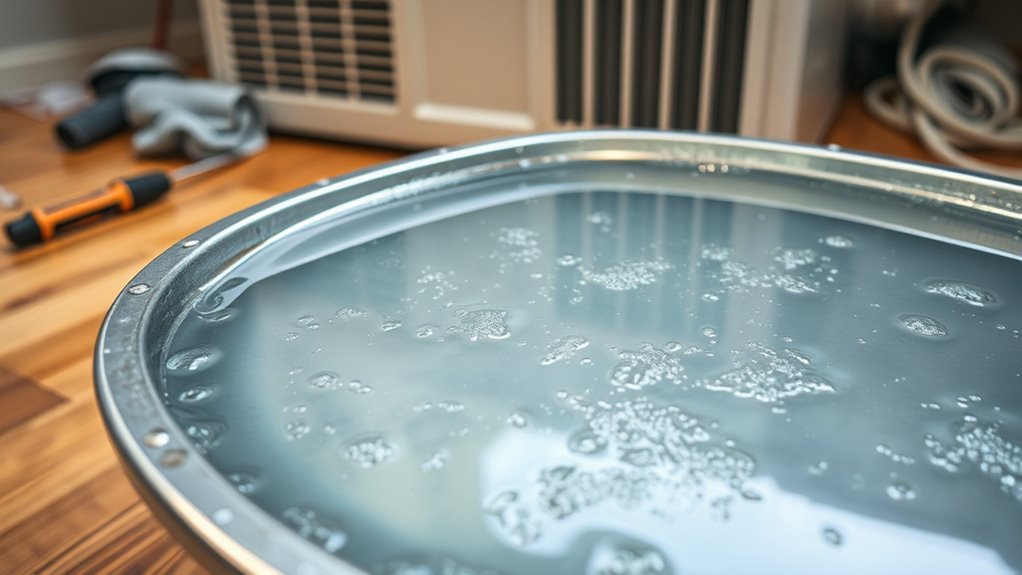
Your AC pan fills with water mainly because the drain line is clogged, the air filter is dirty, or the evaporator coils are frozen, leading to excess condensation. Improper installation can also cause poor drainage and overflow. These common issues often result in a full AC pan that needs immediate attention.
To fix it, start by clearing the drain line using a vacuum or vinegar to remove blockages. Replace your air filters regularly to maintain good airflow and prevent dirt buildup.
Also, ensure your AC unit is level to promote proper drainage and avoid water pooling.
If these steps don’t resolve the issue, further inspection may be necessary. Addressing the problem promptly helps prevent water damage and keeps your AC system running smoothly for the long term.
Common Causes of a Full AC Drain Pan
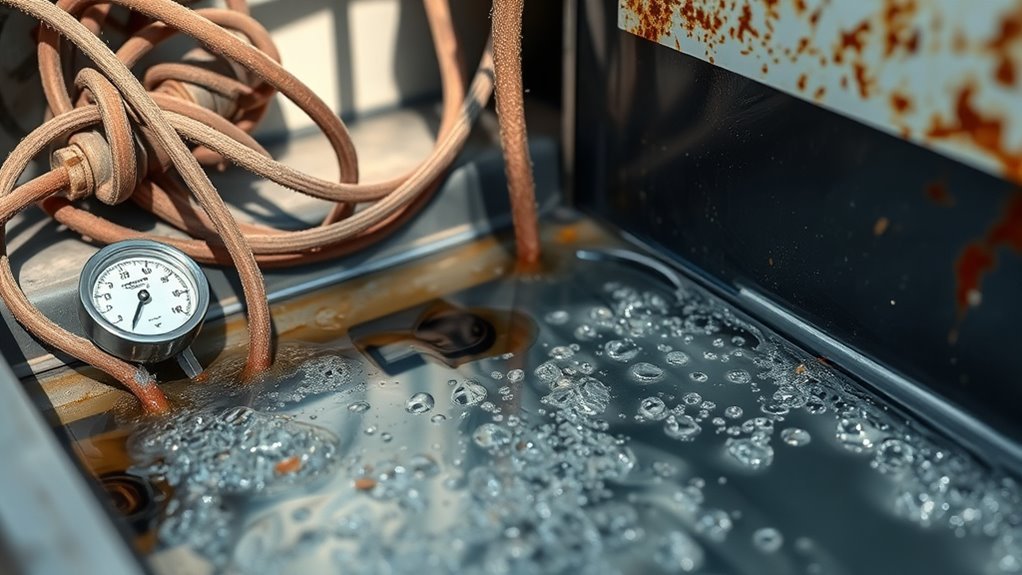
When your AC drain pan fills up, it’s usually because something’s blocking the normal flow of water. A clogged condensate drain line is the main culprit, causing water to back up and overflow into the pan. You might also face issues if your air filters are dirty or clogged, which can lead to coil freezing.
When the ice melts, it creates excess water that your drain can’t handle. Improper installation or a tilted unit may prevent water from flowing properly into the drain. Additionally, debris, algae, and organic buildup inside the drain line can trap water, causing overflow.
Even refrigerant problems can cause coil freezing, contributing to a full drain pan. Checking these common causes helps you prevent overflow and keep your AC running smoothly.
How to Identify a Clogged Condensate Drain Line
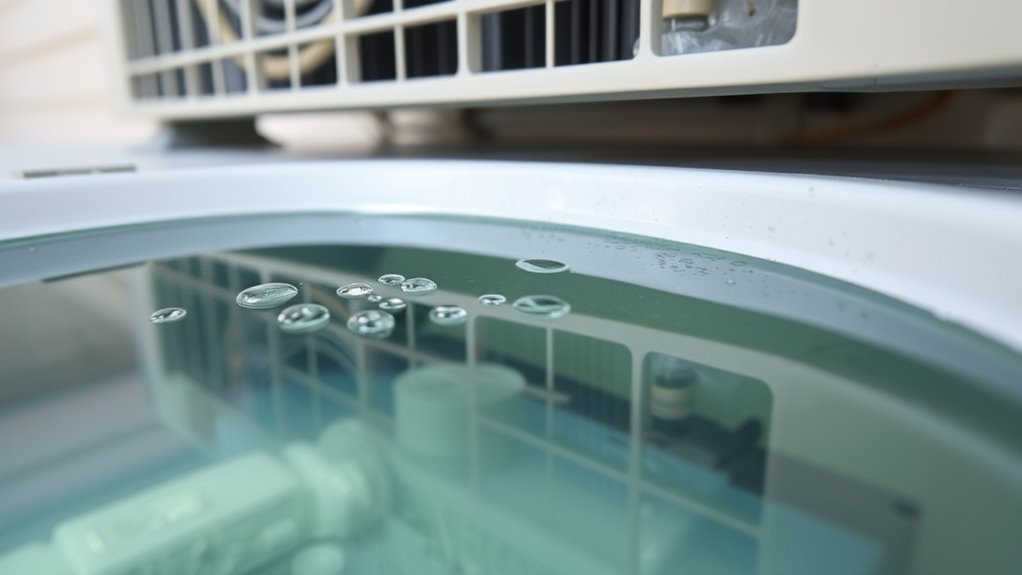
A full AC drain pan often signals a clogged condensate drain line, which can disrupt your system’s water flow. To identify a clogged condensate drain, inspect the drain for visible buildup like algae or dirt. Watch for water backing up in the pan or slow drainage.
Musty odors or leaks near the indoor unit also hint at blockages. Using a wet/dry vacuum to clear the drain line can confirm a clog.
| Symptom | Cause | Action to Take |
|---|---|---|
| Water backing up | Clogged condensate | Inspect the drain |
| Musty odor | Mold/algae buildup | Clean the drain line |
| Slow drainage | Organic debris | Vacuum the line |
| Leaks near unit | Blocked drain line | Flush with vinegar |
| Standing water | Drain line clog | Regular maintenance |
Why a Dirty Air Filter Causes AC Pan Overflow

Because dirty air filters restrict airflow over the evaporator coil, your AC system can struggle to function properly and cause the coil to freeze. A clogged filter reduces airflow, making the coil colder than it should be. When the ice melts, excess water drips into the drain pan, which can quickly fill and cause overflow.
Additionally, a clogged filter forces your system to work harder, producing more condensation that the drain pan might not handle efficiently. This extra water increases the risk of the drain pan overflowing, potentially damaging your AC unit or surrounding areas.
To prevent this, regularly replace or clean your air filter to maintain proper airflow, protect the evaporator coil, and keep the drain pan from filling up and overflowing.
How Frozen Evaporator Coils Lead to Water Overflow
If your evaporator coils freeze, they can cause significant water overflow issues in your AC system. Frozen coils form when restricted airflow or low refrigerant makes the evaporator coil temperature drop below freezing. As the ice melts, it creates excess water that the drain pan can’t handle, leading to water overflow.
The ice buildup also blocks proper condensation drainage, causing water to spill into the drip pan. Simply thawing frozen coils won’t solve the problem if the root cause remains. To prevent repeated water overflow, you need to address airflow problems and refrigerant levels.
Regular maintenance, like changing filters and ensuring proper airflow, helps keep the evaporator coil from freezing and stops water overflow before it starts.
How Improper Installation Causes Drainage Problems
If your AC pan is tilted the wrong way or the unit isn’t level, water won’t drain properly and can pool inside the pan.
You’ll also run into problems if the drain line is placed incorrectly or isn’t secured well. These installation mistakes can cause leaks and overflow that you definitely want to avoid.
Incorrect Pan Tilt Angle
When the AC pan isn’t tilted correctly, water can’t flow toward the drain as it should, causing pooling and overflow. An incorrect pan tilt during installation often leaves the drain pan level or sloped away from the drain line, disrupting drainage. This improper angle leads to water overflow and potential damage.
To fix this, you need to verify the pan tilt is correct.
Here’s what you should do:
- Check if the drain pan slopes at about 1/4 inch per foot toward the drain.
- Reinstall or adjust the pan if it’s level or tilted incorrectly.
- Confirm that water flows freely to the drain without pooling.
- Regularly inspect the pan tilt during maintenance to prevent overflow.
Faulty Drain Line Placement
Although proper pan tilt is essential, faulty drain line placement often causes drainage issues by disrupting water flow. If the drain line is installed too high, kinked, or poorly secured, gravity can’t do its job, leading to water pooling in the pan. This improper drain line placement increases the chance of clogs from debris buildup, which blocks water flow and results in an overflowing A/C pan.
Loose or misaligned drain pipes may leak or disconnect, causing water backup and potential flooding. Additionally, if the drain outlet is incorrectly positioned, water might spill onto walls or floors instead of draining outside. To fix these problems, ensure the drain line is properly sloped, securely connected, and correctly placed to allow smooth drainage and prevent water pooling or overflow.
Poor Unit Leveling
A poorly leveled air conditioning unit disrupts proper condensate drainage, causing water to pool in the pan instead of flowing toward the drain outlet. When your unit isn’t installed level, it can lead to several drainage problems:
- Condensate water collects unevenly in the drain pan, increasing water accumulation.
- Cracks or gaps may form in the drain pan due to stress from uneven positioning.
- Drain line connections endure extra pressure, raising the chance of clogs or leaks.
- Improper unit leveling blocks smooth water flow, causing overflow and potential damage.
To fix this, ensure your AC unit is correctly leveled during installation. Proper unit leveling guarantees efficient drainage, prevents water accumulation, and protects your drain line from unnecessary strain.
How to Safely Turn Off and Inspect Your AC
Before you start inspecting your AC, make sure to turn off the power at the circuit breaker to avoid any electrical hazards. Wait for the system to cool down completely so you don’t risk burns during your check.
Then, use a flashlight to carefully look over the condensate drain line and pan for any blockages or leaks.
Powering Down Safely
When you need to inspect your AC unit, always turn it off at the thermostat and shut off the power at the circuit breaker to avoid electrical shock. Properly powering down your system is vital before checking why your condensate drain pan is full of water.
Follow these steps to shut off and prepare your AC safely:
- Turn off the AC at the thermostat to stop operation immediately.
- Shut off the power at the circuit breaker to disconnect electricity completely.
- Wait at least 30 minutes to let any ice or frozen coils thaw.
- Use insulated gloves and a flashlight when opening access panels to safely inspect the condensate drain and other components.
These precautions ensure your safety while preventing damage during inspection.
Initial Visual Inspection
Start your initial visual inspection by turning off the power at the circuit breaker to eliminate any risk of electrical shock.
Next, carefully remove the access panel of your indoor unit to expose the drain pan and drain line. Use a flashlight to inspect the drain pan for standing water or any signs of leaks that could cause water damage.
Then, check the drain line for clogs by looking for debris, algae, or mold buildup that might be blocking the flow. Make sure the condensate drain pipe is securely connected and free from kinks or damage.
Catching these issues early can prevent further water damage and help you address a clogged drain line before it causes bigger problems.
Clear the AC Drain Line and Empty the Overflowing Pan
If your AC drain line clogs, water will back up into the overflow pan, causing it to spill. To fix this, you need to clear the drain line and empty the overflowing pan promptly. Use a wet/dry vacuum to suck out debris or flush the line with vinegar to dissolve buildup.
Carefully disconnect the drain line if needed and clear any obstructions with a pipe brush or compressed air. Then, remove excess water from the overflow pan using towels or the vacuum to prevent mold growth.
Follow these steps:
- Inspect the drain line for clogs regularly.
- Use a wet/dry vacuum to clear the clogged drain.
- Flush the drain line with vinegar periodically.
- Empty and dry the overflow pan promptly to avoid damage.
Check and Replace Air Filters to Prevent Overflow
You should check your AC’s air filters regularly to keep airflow smooth and prevent water from overflowing. Replace dirty filters every 1 to 3 months, or sooner if you notice reduced airflow or dust buildup.
Staying on top of filter maintenance helps avoid ice on coils and water pooling in the drain pan.
Importance Of Clean Filters
A clean air filter plays a essential role in preventing AC pan water overflow by ensuring proper airflow over the evaporator coil. When air filters get clogged, airflow reduces, causing the coil to freeze. As the ice melts, excess water can overwhelm the drain pan, leading to leaks.
Keeping your filters clean maintains system efficiency and reduces strain on components. Here’s why you should prioritize clean filters:
- Prevents moisture buildup by allowing proper heat transfer.
- Stops coil freezing that causes water overflow.
- Maintains overall system efficiency and performance.
- Minimizes risk of water leaks that can damage your home.
Regularly checking and cleaning air filters helps avoid these costly issues and keeps your AC running smoothly.
Filter Replacement Frequency
How often should air filters be replaced to keep your AC from overflowing? Generally, you should change your air filter every 1 to 3 months as part of regular maintenance.
In dusty environments or homes with pets, replacing filters every 30 to 60 days is better to prevent dirty filters from restricting airflow. Proper filter replacement helps your AC run efficiently and stops the coils from freezing, which reduces water buildup and overflow risks in the condensate drain line.
Using high-efficiency filters is great for catching debris, but they may need more frequent changes to avoid airflow issues. Neglecting timely filter replacement leads to dirty coils and excess moisture, increasing the chance of water spilling out of your AC’s drain pan.
Stay on top of this to avoid costly problems.
Signs Of Clogged Filters
Wondering if your air filter is clogged? A clogged filter restricts airflow, causing the coil to freeze and excess water to collect in the drain pan. Watch for these signs to catch issues early:
- Reduced cooling efficiency as airflow decreases.
- Frost or ice buildup on the evaporator coil indicating coil freeze.
- Water overflowing from the drain pan due to melted ice.
- Higher indoor humidity levels caused by poor air circulation.
If you notice any of these, check and replace your air filter promptly. Regular cleaning every 1 to 3 months keeps airflow steady, prevents coil freeze, and avoids drain pan overflow.
Staying on top of filter maintenance protects your AC system and keeps your home comfortable and dry.
Preventive Maintenance Tips to Keep Your AC Pan Dry
Since your AC pan can quickly fill up and cause water damage, you need to stay on top of preventive maintenance. Start by changing or cleaning the filter every 1-3 months to maintain proper airflow, reducing the risk of coil freezing and condensate buildup.
Regularly flush the drain line with vinegar or use a wet/dry vac to clear algae and debris that block water flow. Make sure your AC unit is installed with a slight tilt to help condensate drain effectively.
Schedule professional HVAC maintenance to inspect and clean the drain line and drip pan, preventing a pan full of water. Finally, consider installing float switches or water sensors that shut off your system if the pan gets too full, protecting your home from leaks.
When to Call a Professional for Persistent Water Issues
Although you can handle minor AC pan water issues yourself, persistent problems call for professional help to prevent further damage. If water keeps overflowing despite cleaning, it’s likely time to schedule professional repair. Issues like a clogged filter, a blocked drain line, or leaking water from faulty components require expert diagnosis.
Here are signs you should call a professional:
- Water keeps pooling in the drip pan after routine cleaning.
- You notice leaking water damaging walls, ceilings, or floors.
- Your AC frequently shuts off or shows error codes related to water.
- Basic fixes don’t stop water buildup, indicating possible pump or coil problems.
Don’t delay—professional inspections help avoid costly repairs and keep your system running safely.
Frequently Asked Questions
What to Do if an AC Pan Is Full of Water?
You should turn off your AC, clear the condensate drain line, and empty the water from the pan.
Then, check or replace filters to improve airflow.
If water persists, call a professional technician for help.
What Causes an AC Drain Pan to Fill Up?
Your AC drain pan fills up because of clogged drain lines, frozen coils, dirty filters, or improper unit tilt.
You’ll want to clear blockages, clean filters, and guarantee correct installation to fix the issue.
How to Fix a Clogged AC Drain Pan?
You can fix a clogged AC drain pan by clearing the drain line with a wet/dry vacuum or vinegar flush, removing debris with a brush, ensuring proper slope, and installing a float switch to prevent overflow.
Start by disconnecting the power to the unit for safety. Use a wet/dry vacuum to suck out any blockage in the drain line, or flush it with vinegar to dissolve buildup.
Next, clean the drain pan itself by removing any debris with a brush. Check that the pan is properly sloped to allow water to flow towards the drain line.
Finally, consider installing a float switch in the drain pan. This device will shut off the AC if the water level gets too high, preventing overflow and water damage.
How Much Does It Cost to Replace an AC Drain Pan?
Replacing your AC drain pan can hit your wallet like a sudden summer storm, typically costing you between $200 and $600.
You’ll spend $50 to $150 for aluminum pans, plus $100 to $300 for labor.
Conclusion
If your AC pan looks like a mini swimming pool, don’t panic! Ignoring it could turn your home into a waterpark disaster.
By clearing the drain line, swapping out dirty filters, and staying on top of maintenance, you can stop the flood before it starts.
But if water keeps pouring like a waterfall, it’s time to call in the pros—because no one wants an indoor pool where the AC should be!
To fix a full AC pan, focus on regular maintenance, clean the drain line, and replace clogged filters. These steps help prevent water buildup and keep your air conditioner running smoothly.