

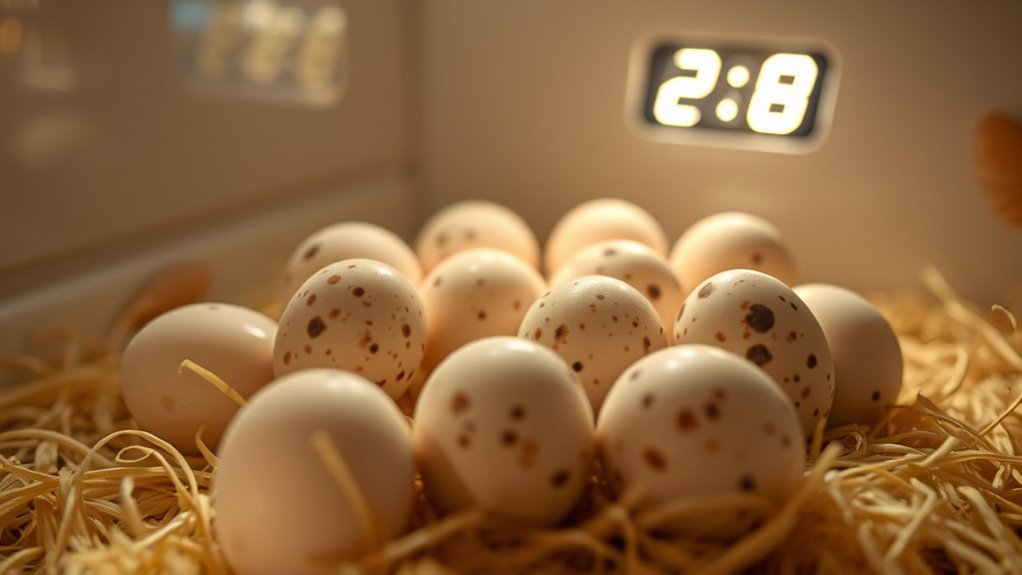
How Long Do Eggs Incubate Before Hatching?
Chicken eggs typically incubate for about 21 days before hatching, though this can range from 19 to 23 days depending on conditions. Proper incubation is crucial for healthy development, so maintaining the right temperature and humidity is essential.
You’ll want to keep your incubator steady at around 99.5°F with proper humidity and turn the eggs regularly to support development.
Watch for signs like pipping and chirping as hatch time nears, and be patient since some chicks take a bit longer.
Keep following to understand how to prepare and monitor your eggs throughout the process.
How Long Do Chicken Eggs Take to Hatch?

When you incubate chicken eggs, they usually hatch around 21 days after you start. The incubation period typically lasts between 19 and 23 days, with most chicks emerging close to day 21. Maintaining the right temperature, around 99.5 to 100°F, and humidity near 50 to 55% is essential to guarantee a good hatch rate.
During hatching, you’ll notice chicks start peeping and piping through the shell just before chick emergence. While some eggs might hatch a bit earlier or later, proper environmental conditions keep the timing consistent. Watching for these signs during the incubation period helps you anticipate when the chicks will hatch, ensuring you’re ready for their arrival.
What Factors Affect Chicken Egg Incubation Time?
Although chicken eggs typically hatch around 21 days, several factors can influence the exact timing. You need to maintain a consistent temperature of about 99.5°F and proper humidity to support healthy embryo development. Fluctuations in temperature or humidity can extend the incubation period beyond the usual range of 20 to 24 days.
Regular turning of the eggs is essential; without it, embryos may develop unevenly, delaying hatching. Egg age and storage conditions before incubation also play vital roles—older eggs or those stored improperly often hatch later or have lower success rates. By carefully managing these factors—temperature, humidity, turning, egg age, and storage conditions—you can help guarantee your chicken eggs hatch on time and in good health.
How to Prepare Chicken Eggs Before Incubation
To guarantee the best hatch rates, you should start incubating chicken eggs within one week of laying, with the prime window being between three and five days old. Before you set eggs for incubation, store eggs in a cool, dry place at 55°F to 65°F to maintain their viability. Avoid washing eggs to preserve the natural bloom that protects them.
If you’re using shipped eggs, let them rest upright for 24 hours to allow internal contents to settle. When preparing eggs for incubation, keep in mind the age of eggs plays a vital role in hatch success. Proper temperature and humidity control during incubation are essential, and regular egg turn prevents the embryo from sticking to the shell, ensuring healthy development.
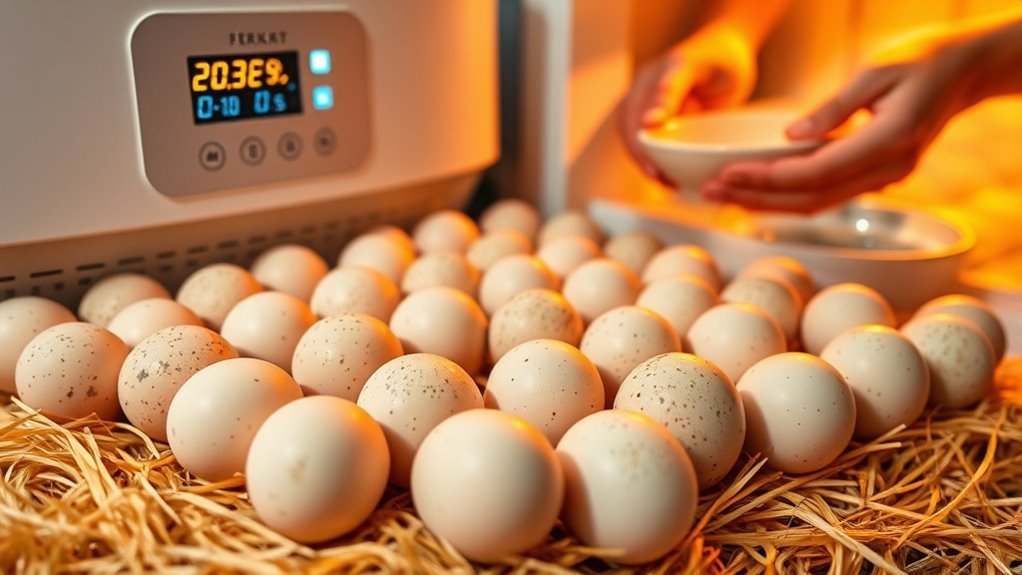
How to Set Up Your Incubator for Chicken Egg Hatching
Preparing your incubator properly sets the foundation for a successful hatch. Run your incubator at the right temperature (100.5°F) and humidity (50-55%) for at least 24 hours before you set in the incubator the hatching eggs.
Place eggs pointy side down, ensuring they’re clean and intact to protect the air sac. Avoid opening the incubator often to keep temperature and humidity stable.
| Step | Why It Matters |
|---|---|
| Pre-run incubator | Stabilizes temperature & humidity |
| Set eggs pointy down | Protects the air sac |
| Maintain 100.5°F | Ensures embryo development |
| Humidity 50-55% | Supports early incubation |
| Increase humidity late | Helps chicks hatch successfully |
Following these steps will help you nurture healthy chicks.
Why You Must Turn Eggs Regularly During Incubation
If you want your embryos to develop properly, you must turn the eggs at least three times a day during the first 18 days of incubation. Turning eggs prevents the embryo from sticking to the shell, which is vital for healthy embryo development.
Regular egg turning also helps distribute heat and moisture evenly inside the egg, improving the hatch rate. If you skip or turn eggs unevenly, you risk embryo death or malformation. Many incubators come with an automatic turner, which guarantees consistent turning throughout these essential days.
Remember to stop egg turning during days 19 to 21 to let the embryo position itself for hatching. Proper egg turning during incubation directly influences the success of your hatch.
When and How to Candle Chicken Eggs to Track Development
You’ll want to candle your chicken eggs between days 5 and 7 to spot early embryo development, looking for blood vessels and a dark embryo shape. Use a bright flashlight in a dark room, holding the egg gently at an angle to get a clear view without stressing it.
Candling again around day 10 helps you track growth and identify any eggs that aren’t developing properly.
Optimal Candling Timing
Although candling chicken eggs can be done at various points during incubation, the ideal time to do so is between days 7 and 10. During these days, embryo development is advanced enough to clearly see blood vessels and the growing embryo inside viable eggs. When you candle eggs during this period, you can easily distinguish viable eggs from infertile eggs, which often appear clear or show a blood ring.
Candling at this stage helps you monitor progress without disturbing the incubation process. It also allows you to identify non-viable eggs early and remove them, improving the overall success rate. By focusing on days 7 to 10, you ensure the best visibility during candling and make informed decisions about your eggs’ development.
Identifying Embryo Development
Candling chicken eggs between days 5 and 7 lets you spot early embryo development by revealing network-like blood vessels inside the shell. This is a key step to check egg viability during the incubation period. Fertilized eggs show these vessels, while non-fertile eggs remain clear or display a dark spot without veins.
Use a bright light or egg candler in a dark room, limiting exposure to about 10 minutes per egg. Mark each egg with a pencil to track development and identify those that stop progressing. Discard eggs with no visible blood vessels or blood rings by day 10 or 14 to improve hatch process success.
| Day Range | Observation |
|---|---|
| 5-7 | Blood vessels visible |
| 8-10 | Embryo growth clearer |
| 10-14 | Discard non-developing eggs |
| 14+ | Prepare for hatching |
What to Expect in the Last Days of Chicken Egg Incubation
As you enter the last days of incubation, it’s vital to stop turning the eggs and increase humidity to around 70% to help chicks hatch smoothly.
You’ll need to monitor the eggs closely for signs of pipping and listen for the chicks’ chirps. This lockdown period guarantees the best conditions for your chicks to break free from their shells.
Lockdown Period Procedures
When you reach day 18 of incubation, you’ll enter the lockdown period, a vital phase where you stop turning the eggs and increase humidity to around 70%. During lockdown, turning stops to prevent embryo dislocation and help the hatchlings position themselves properly for hatching. Raising humidity softens the eggshell, making it easier for the chicks to break through.
You’ll typically see hatchlings start to pip and emerge between days 21 and 24, with most hatching by day 21 if conditions are right. It’s important not to open the incubator during this time, as maintaining stable temperature and humidity is essential for a successful hatch. By carefully managing these lockdown procedures, you’ll give your eggs the best chance to hatch healthy, strong chicks.
Increased Humidity Importance
While you approach the final days of incubation, increasing humidity to around 65-75% becomes essential for softening the eggshell and supporting your chicks as they prepare to hatch. During the lockdown period, maintaining proper humidity prevents the air cell from expanding too much, which is critical for hatching success.
If humidity is too low, the shell can dry out, causing chicks to become shrink-wrapped and stuck inside. Keeping humidity near 70% in these last days encourages chicks to pip effectively and hatch smoothly. This careful control of humidity during the final days of incubation reduces risks and improves your chances of a successful hatch.
Monitoring Hatch Progress
Although the final days of incubation can feel tense, you’ll want to closely observe your eggs for signs of hatching progress. Around days 20 to 24 of incubation, stop egg turning and increase humidity levels to 65–75% to support chick development. Candling eggs earlier helps track embryo growth, but in these last days, watch for pipping—the chick pecking its shell—and listen for chirping or peeping.
These are clear indicators that hatching is near. Avoid opening the incubator too often to maintain stable humidity and temperature, which directly influence hatch rates. If a chick hasn’t hatched by day 24, patience is key; some hatchings are delayed naturally.
Careful monitoring during this critical period ensures you support healthy hatch progress effectively.
Frequently Asked Questions
What Not to Do When Incubating Eggs?
You shouldn’t open the incubator during lockdown, avoid turning eggs after day 18, never help chicks hatch prematurely, don’t set dirty or damaged eggs, and keep eggs away from extreme temperatures or direct sunlight to guarantee success.
Will 10 Day Old Eggs Hatch?
You probably won’t have much luck hatching 10-day-old eggs since embryos are already developing and can deteriorate if not stored right.
It’s best to incubate eggs within a week for higher hatch success.
How Many Times a Day Should I Turn Eggs in the Incubator?
You should turn your eggs at least three times daily, but no more than five to avoid disturbing development.
Stop turning during the last three days to let the embryos position themselves properly for hatching.
Can You Incubate Freshly Laid Eggs?
Yes, you can incubate freshly laid eggs. Just make sure to set them within 1 to 5 days after laying for the best hatch rates.
Store them cool if you need to wait before starting incubation.
Conclusion
Now that you know the typical incubation time and key steps, the real challenge begins. You’ll watch, wait, and wonder if each egg will hatch successfully. Turning them, candling them, and maintaining perfect conditions feels like a delicate dance.
But just when you think you’ve done all you can, nature surprises you. In those final days, patience and care become everything—because the moment a tiny chick breaks through is worth every second of the wait.
Understanding how long eggs incubate before hatching helps you prepare for this amazing journey. With the right knowledge and attention, you increase the chances of a successful hatch and healthy chicks.