
How Long Do Finch Eggs Take to Hatch?
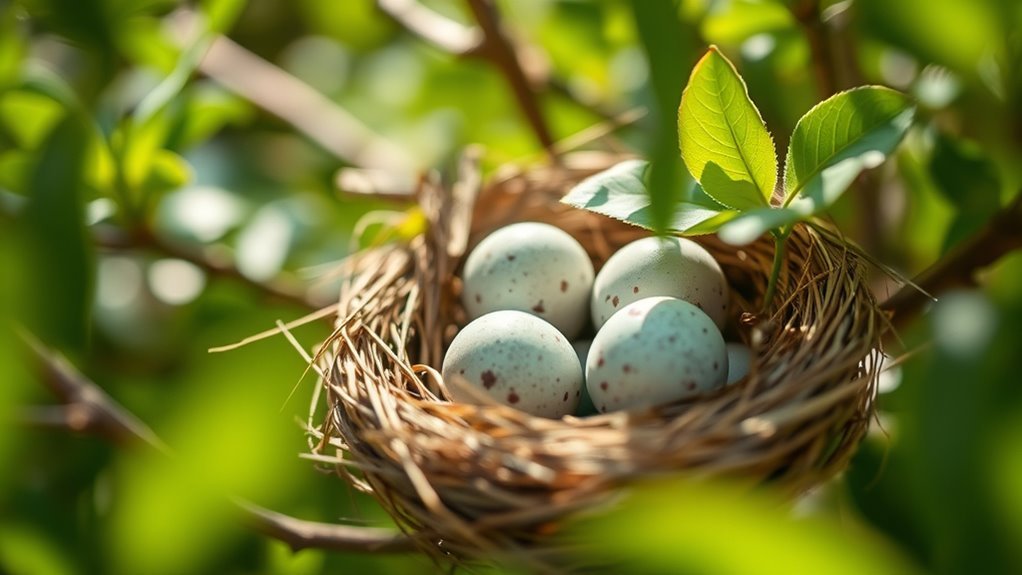
Finch eggs usually take about 12 to 14 days to hatch after incubation starts, which typically begins once the last egg is laid. Understanding how long finch eggs take to hatch is essential for proper care during this critical period.
Both parents share the duty, keeping the eggs warm and turning them regularly to ensure proper development.
You’ll notice healthy eggs show visible veins when candled.
Sometimes eggs don’t hatch due to infertility or incubation issues. If you want to understand more about their care and development, there’s plenty to explore.
How Long Do Finch Eggs Take to Hatch?
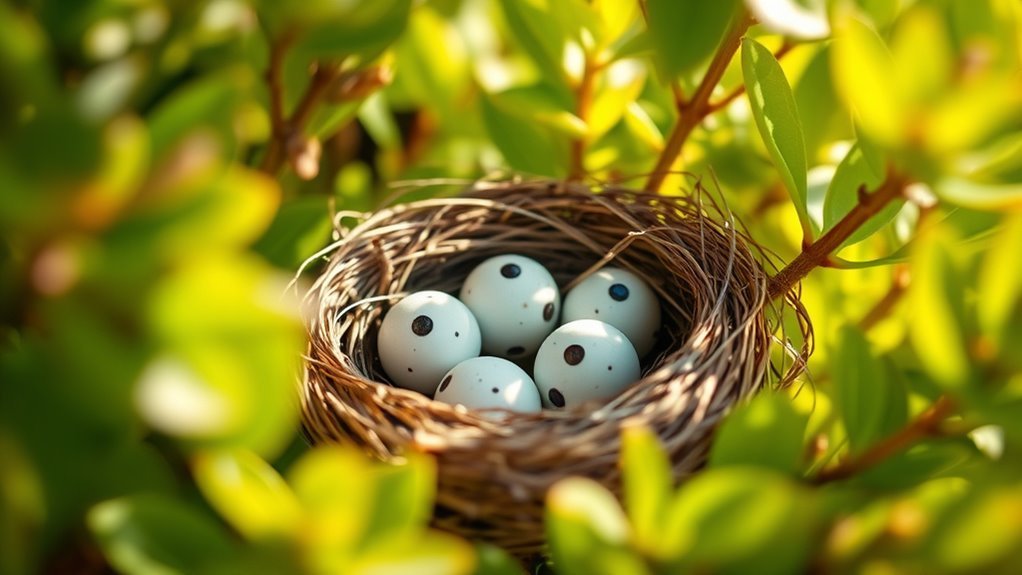
Although incubation begins only after about three to four eggs are laid, house finch eggs typically hatch around 12 to 14 days later. You’ll notice both parents share incubation duties, helping keep the eggs warm and increasing the chances of successful hatching. Finch eggs usually hatch in a synchronized manner, meaning they emerge within a few days of each other, rather than all at once or spread out over a longer period.
This synchronization helps the chicks grow together and receive care simultaneously. Keep in mind, environmental conditions and the quality of parental care can influence the exact duration of incubation and hatching times. So, while 12 to 14 days is typical, slight variations may occur depending on these factors.
When Does Incubation Start for Finch Eggs?
Since incubation timing varies among finch species, understanding when it starts can help you predict hatch dates more accurately. Generally, incubation of finch eggs begins after the last egg is laid, marking the clutch’s completion. However, in some species, incubation starts with the first egg or after a few eggs are laid.
During the breeding season, both parent finches usually share incubation duties—females at night and males during the day. Most finches initiate incubation about one to two days after laying the final egg. Knowing this timing is vital for monitoring nesting progress and anticipating when the eggs will hatch.
How Long Is Finch Egg Incubation?
How long do finch eggs take to hatch? For house finches, the incubation period typically lasts about 12 to 14 days. During this time, both parents share the responsibility of keeping the eggs warm, though females mainly incubate at night.
The exact length of the incubation period can vary slightly depending on environmental conditions like temperature. Usually, the first eggs laid hatch within this window, assuming the conditions remain stable.
If you notice eggs haven’t hatched after 14 days, they might be unfertilized or have developmental problems. Understanding the incubation period helps you anticipate when the tiny hatchlings will emerge, giving you a clearer picture of the house finches’ breeding timeline and the care required during this critical phase.
How Do Finch Parents Care for Eggs During Incubation?
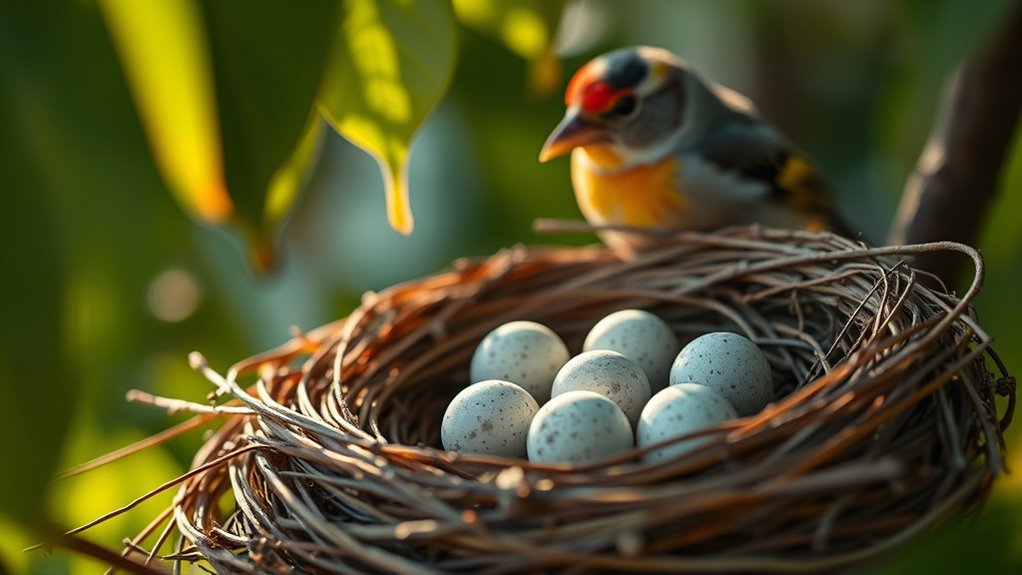
When finch eggs are incubating, both parents share the duties to guarantee successful development. The female primarily incubates at night, while the male takes over during the day. This parental care ensures the eggs maintain a steady temperature between 99-101°F, essential for proper embryo growth.
Both parents regularly turn the eggs to prevent the embryo from sticking to the shell and to promote even incubation. They also regulate humidity by bathing in shallow water or moist environments, preventing the eggs from drying out.
Throughout incubation, the parents vigilantly protect the eggs from predators and environmental stress, carefully monitoring their surroundings. This attentive care during incubation is critical to help the finch eggs develop healthily and prepare for hatching.
How Can You Tell If Finch Eggs Are Healthy?
You can tell if finch eggs are healthy by candling them to look for red veins that show embryo growth. If the eggs are uniformly white or show no veins, they might be unfertilized or non-viable.
Regularly checking without disturbing the eggs helps you detect these signs early.
Candling Finch Eggs
Although candling finch eggs requires care, it’s a useful method to check if the embryos inside are developing properly. Candling involves shining a bright light through the finch eggs, allowing you to observe embryo development without disturbing the nest. Healthy eggs usually reveal a network of red or dark veins spreading across the shell, indicating active growth.
If you see only a faint outline or no veins at all, the egg might not be fertilized or could be non-viable. Eggs that appear clear and uniform, with no visible movement, often won’t hatch. You should candle eggs gently and only when necessary, such as if the parents reject them or are inexperienced, to avoid causing stress or damage to the developing embryos.
Signs Of Embryo Growth
Candling finch eggs reveals more than just the presence of embryos; it also helps you identify clear signs of healthy development. When you candle, look for visible red veins and a dark, moving spot inside the egg—these are strong indicators of active embryo development.
A translucent, uniform shell with a glossy finish shows good egg health. Conversely, if you see no veins or notice shadowy, opaque areas, the embryo might not be developing properly. Cracks or discoloration on the shell often signal poor health or failed development.
| Indicator | What You See | What It Means |
|---|---|---|
| Red Veins | Clear, branching veins | Healthy embryo development |
| Moving Spot | Dark, moving shape | Live embryo inside |
| Shell Appearance | Glossy, translucent | Good egg health |
| Opaque or Cracked | Shadowy interior, cracks | Poor or failed development |
Detecting Unfertilized Eggs
While not all finch eggs will successfully develop, you can detect unfertilized eggs early by paying close attention to their appearance during incubation. Unfertilized eggs often lack visible veins and appear dull or opaque compared to healthy ones.
When you candle the eggs, fertilized eggs typically show red or purple blood vessels, indicating embryo development, while unfertilized eggs show no visible veins. Also, look for a small dark spot called the blastodisc on the eggshell—its absence suggests the egg is unfertilized.
Over several days, fertilized eggs change as the embryo grows, but unfertilized eggs remain firm and unchanged. If you notice no signs of embryo development after days of incubation, it’s safe to conclude the egg is unfertilized.
How to Safely Check If Finch Eggs Will Hatch
To safely check if finch eggs will hatch, you can candle them by shining a bright light through the shell to spot developing veins and movement. Always handle the eggs gently and wear gloves to avoid transferring scents that might upset the parents.
Watching for clear signs of embryo development helps you know if the eggs are progressing well.
Candling Finch Eggs
If you want to check whether finch eggs are developing properly without disturbing the parents, shining a bright light through the shell can reveal important signs. This process, called candling, helps you observe embryo development inside the egg without opening it. Use a small, focused flashlight or an egg candler in a dark room to gently illuminate the egg.
Healthy eggs typically show visible red veins and a dark spot where the embryo is growing. Be careful to avoid candling eggs that the parent birds are actively caring for, as this can cause stress. Always wear gloves and handle eggs with care to prevent damage or transferring scents.
Candling gives you a safe way to monitor finch eggs’ progress and confirm they’re healthy.
Handling Eggs Carefully
Although checking finch eggs for signs of hatching can feel tempting, you need to handle eggs with extreme care to avoid causing harm or stress to the parents. Minimize disturbance by only candling when absolutely necessary—such as if eggs are rejected or parents are inexperienced.
When you do candle, use a bright flashlight gently, holding the egg steady without turning or shaking it. Wear gloves to prevent transferring scents that might make the parents abandon their clutch. Observe the eggs for just a few seconds, looking for red veins or embryo movement, which signal healthy development.
Recognizing Embryo Development
When you carefully handle finch eggs, you can gently check for signs of embryo development through candling. This method shines a bright light through the shell, revealing veins that indicate a healthy embryo. You should only candle eggs if they’re rejected or if the parents are very young to avoid disturbing the nest.
Always wear gloves to prevent scent transfer, which could cause rejection.
| Observation | Meaning | Action |
|---|---|---|
| Visible red veins | Healthy embryo development | Continue incubation |
| Network-like veins | Embryo progressing normally | Maintain current care |
| Faint outline | Possible infertility | Monitor or consider removing |
| No veins | Embryo stalled or infertile | Remove to prevent fungus growth |
| Dark, no movement | Non-viable egg | Safely discard |
Why Don’t Finch Eggs Hatch Sometimes?
Because finch eggs need proper conditions and care, they don’t always hatch successfully. You might wonder why some eggs don’t make it through the incubation period. Often, hatch failure happens due to several common reasons.
Finch eggs require careful care and ideal conditions to hatch successfully; many fail due to common incubation challenges.
For example, unfertilized eggs won’t develop if no male finch is nearby. Also, if incubation isn’t consistent or the eggs get damaged, they’re unlikely to hatch. Environmental stress and inexperience in parent birds can contribute, too.
Here’s what you should watch for:
- Unfertilized eggs that never develop
- Poor or inconsistent incubation temperature and humidity
- Damage or mishandling of delicate eggs
- Calcium deficiency causing soft shells that crack
- Stress or inexperience leading to neglect or egg rejection
Understanding these helps you improve the chances of successful finch egg hatching.
What Happens After Finch Eggs Hatch?
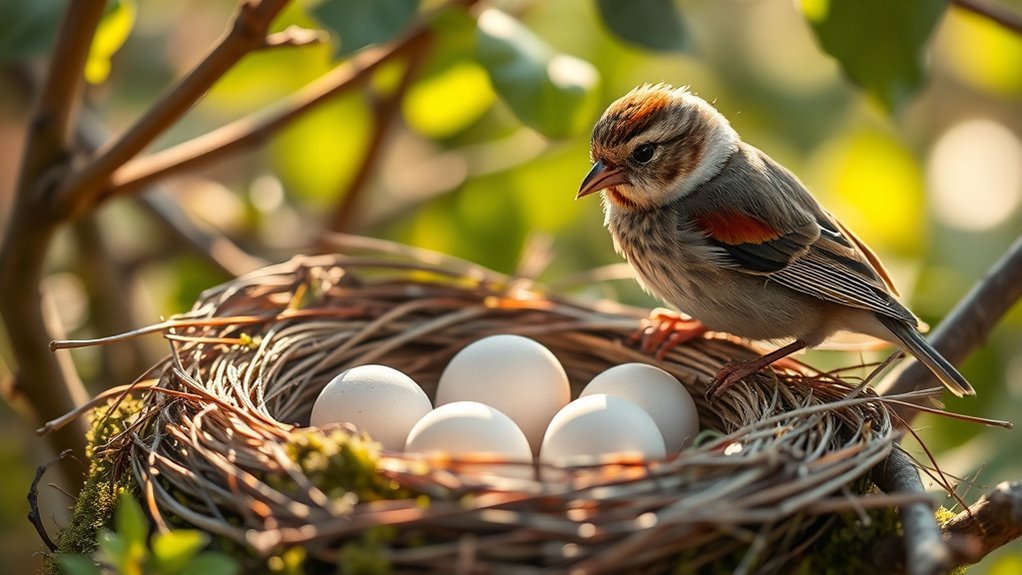
Once finch eggs hatch, you’ll see tiny, featherless nestlings that rely completely on their parents for warmth and food. Both parents work together to feed them by regurgitating meals directly into their mouths.
You’ll notice the chicks grow quickly over the next two weeks before they’re ready to leave the nest and start flying.
Nestling Care And Growth
Although finch chicks hatch blind and helpless, both parents quickly spring into action to feed and protect them. After House Finch eggs hatch, you’ll notice nestlings grow rapidly, gaining feathers and weight each day. Make sure to observe that the chicks stay in the nest for about 14 to 18 days.
During this time, both parents provide warmth and nourishment. Around days 12 to 15, the young finches begin to leave the nest, but parental care continues as they learn to fly and survive.
- Nestlings are altricial: born blind, naked, and dependent
- Parents feed chicks regurgitated seeds and insects
- Growth includes feather development and weight gain
- Chicks remain in nest approximately 14–18 days
- Young finches start to leave the nest around day 12–15
Feeding Behavior And Diet
After the finch eggs hatch, both parents immediately focus on feeding their chicks to guarantee healthy growth. You’ll notice they bring regurgitated seeds and insects right to the nest, like a housekeeper delivering meals through the front door. This soft, easily digestible diet sustains the fragile hatchlings during their first days.
As the chicks grow stronger, the parents gradually introduce more solid foods, helping them shift toward independence. To meet these demanding feeding routines, parent finches increase their foraging around the house area, gathering extra nourishment. For about 14 to 18 days, they keep up this intense care, ensuring the nestlings get all they need before the fledging stage.
You can see this feeding behavior as a crucial, hands-on commitment from both parents.
Fledging Timeline And Process
While finch chicks stay in the nest for about two to three weeks, both parents work tirelessly to feed, warm, and protect them. You’ll notice the fledging process begins as the chicks develop flight feathers and build strength for their first flights. Typically, house finch chicks fledge between 11 to 19 days after hatching.
During this time, the parents continue to nurture the nestlings until they’re ready to leave. After fledging, the young finches gradually learn to find food on their own and permanently leave the nest.
- Chicks remain in the nest 2-3 weeks post-hatching
- Parents feed and keep chicks warm continuously
- Flight feathers develop as fledging starts
- Fledging occurs 11-19 days after hatching
- Young finches learn to forage independently after leaving nest
How Long Until Finch Chicks Leave the Nest?
Once finch chicks hatch, you’ll usually see them leave the nest within 12 to 15 days. During this time, both parents work hard feeding and protecting their young, ensuring they grow strong enough to fend for themselves. The fledging period varies slightly depending on the finch species and environmental factors, but generally, chicks develop rapidly after hatching.
Keep in mind, the entire journey from egg laying, through incubation, to fledging spans roughly 4 to 6 weeks. Watching this process unfold gives you a front-row seat to nature’s rhythm. So, if you’re observing a finch nest, expect the little ones to take flight just two weeks after hatching, ready to explore the world beyond their cozy nest.
How Can You Support a Successful Finch Nesting Season?
Seeing finch chicks leave the nest shows that the breeding cycle is progressing well, but your role doesn’t end there. To support a successful finch nesting season, you need to create a safe environment and minimize stress for the parent birds. Avoid disturbing the nest during incubation by watching from a distance and limiting visits.
Keep noise and activity low nearby, especially during critical times. Provide nutritious food to help parents maintain their health and support chick growth. When checking the nest, do so gently and only when the female is away to prevent delays in hatching.
- Minimize disturbance by observing from afar
- Provide a sheltered, stable nesting site
- Limit loud noises and nearby activity
- Offer a nutritious diet including egg food and greens
- Monitor the nest gently and sparingly during suitable times
Frequently Asked Questions
How Long Does a Finch Sit on Her Eggs?
A finch sits on her eggs for about 12 to 14 days, staying mostly on the nest and only leaving briefly to feed or stretch.
You’ll see her and sometimes the male taking turns incubating.
Can You Touch Finch Eggs?
Sure, go ahead—touch finch eggs and watch the parents throw a dramatic eviction party! Seriously, you shouldn’t touch them unless necessary; human scent risks abandonment, so keep your hands off and admire from afar.
Why Are My Finches Eggs Not Hatching?
Your finch eggs might not be hatching because they’re unfertilized, the parents are inexperienced, or stress disrupts incubation.
Also, calcium deficiencies can cause soft shells, so check for fertilization and proper care to improve success.
Should I Remove a House Finch Nest?
You shouldn’t remove a House Finch nest while eggs or chicks are inside; disturbing it can cause parents to abandon them.
Wait until the chicks have fledged and the nest is empty before considering removal.
Conclusion
Now that you know finch eggs typically take about 12 to 14 days to hatch, you might wonder if starting incubation early really helps. While some say beginning incubation before the last egg is laid guarantees synchronized hatching, it can actually cause uneven development.
So, it’s best to let nature take its course and trust the parents to start incubation at the right time. Supporting them means giving a calm, safe environment for all stages of nesting.
Providing a peaceful habitat encourages healthy finch egg incubation and successful hatching. Remember, understanding how long finch eggs take to hatch helps in creating the best conditions for these delicate birds.