10 Easy Steps to Color Eggs Using Food Coloring
Start by hard-boiling cooled eggs and gently placing them in separate dye baths made with boiling water, food coloring, and a bit of vinegar for vibrancy. Using food coloring for Easter eggs is a simple and fun way to add bright, beautiful hues to your celebration.
Dip each egg for 5-10 minutes, stirring occasionally for even color.
Use tools like tongs to handle eggs without smudging, then let them dry on paper towels.
Try patterns with rubber bands or layering colors for creative effects.
Keep going to uncover tips on cleanup, storage, and advanced dyeing techniques.
Gather Supplies and Ingredients
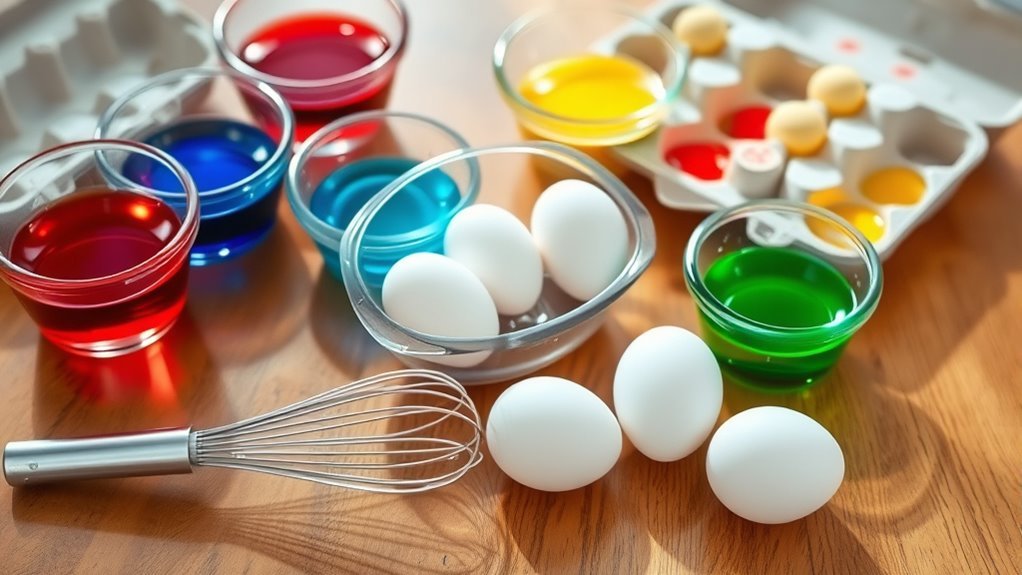
To begin, gather all the supplies and ingredients you’ll need for dyeing your eggs. Start with hard-boiled eggs that are completely cooled and dried to avoid cracking during dyeing. Next, collect food coloring in various shades—liquid or gel works well for vibrant colors.
Prepare a separate cup or bowl for each color, filling each with about ¾ cup of boiling water. Add 1 tablespoon of white vinegar to every container; this helps the dye adhere to the eggshells for brighter results. Have tools like tongs, a spoon, or an egg dipper ready to handle the eggs safely without smudging the color.
Organizing your workspace with these essentials ensures a smooth and colorful egg-dyeing experience.
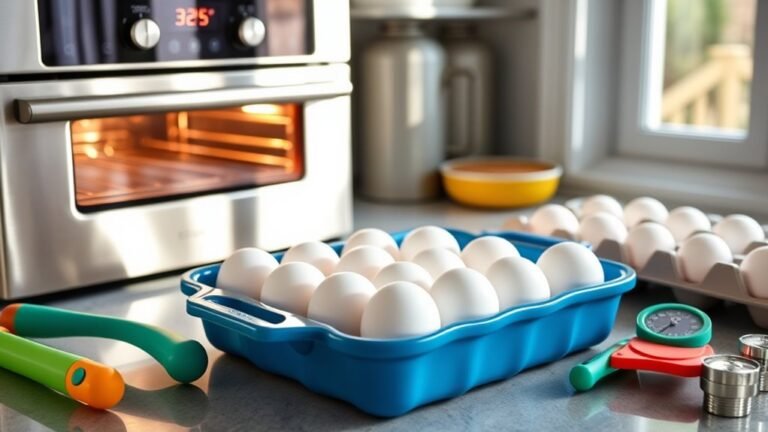
How to Hard-Boil Eggs for Dyeing
Once you’ve gathered your supplies, the next step is preparing your eggs for dyeing by hard-boiling them properly. Place the eggs gently in a saucepan, then cover them with cold water, making sure the water is about an inch above the eggs. Bring the water to a rolling boil over medium-high heat.
Once boiling, turn off the heat and cover the pan. Let the eggs sit in the hot water for 12 to 15 minutes to cook fully. Afterward, rinse the eggs under cold running water or place them in an ice bath until completely cooled.
For easier peeling later, you can add a teaspoon of salt to the water before boiling. Properly hard-boiled eggs ensure your food coloring will adhere smoothly and create vibrant designs.
Prepare Dye Baths With Food Coloring and Vinegar
Start by mixing ¾ cup boiling water with 1 teaspoon of food coloring and a tablespoon of vinegar to create your dye bath. The vinegar helps the color stick to the eggshells, giving you brighter results.
Make sure to stir well and prepare separate baths for each color at room temperature before dyeing.
Mixing Dye Ingredients
When you mix ¾ cup of boiling water with 1 teaspoon of food coloring, you create a vibrant base for your dye bath. Stir the mixture thoroughly until the food coloring fully dissolves to assure even color while dyeing eggs.
Next, add 1 tablespoon of white vinegar to help the color stick better to the eggshells. However, skip the vinegar for shades like Pink, Fuchsia, Purple, and Royal Blue to get the best results.
To create a variety of colors, prepare separate dye baths by repeating this process with different food coloring. This method guarantees bright, consistent colors for your eggs, making your dyeing eggs project easy and successful every time.
Vinegar’s Role Explained
Three key reasons make vinegar essential in your dye baths: it breaks down the eggshell’s surface, stabilizes the dye, and guarantees vibrant colors that stick. When you add about 1 tablespoon of white vinegar per cup of water, its acetic acid helps soften the porous eggshell, allowing the dye molecules to bond more effectively. This means your colors won’t just sit on the surface but will soak in evenly.
Vinegar also stabilizes the dye solution, preventing it from fading or washing away during dyeing. Without vinegar, your eggs may end up with dull or uneven colors. So, including vinegar in your dye baths ensures bright, long-lasting hues, making your egg dyeing process more successful and visually striking.
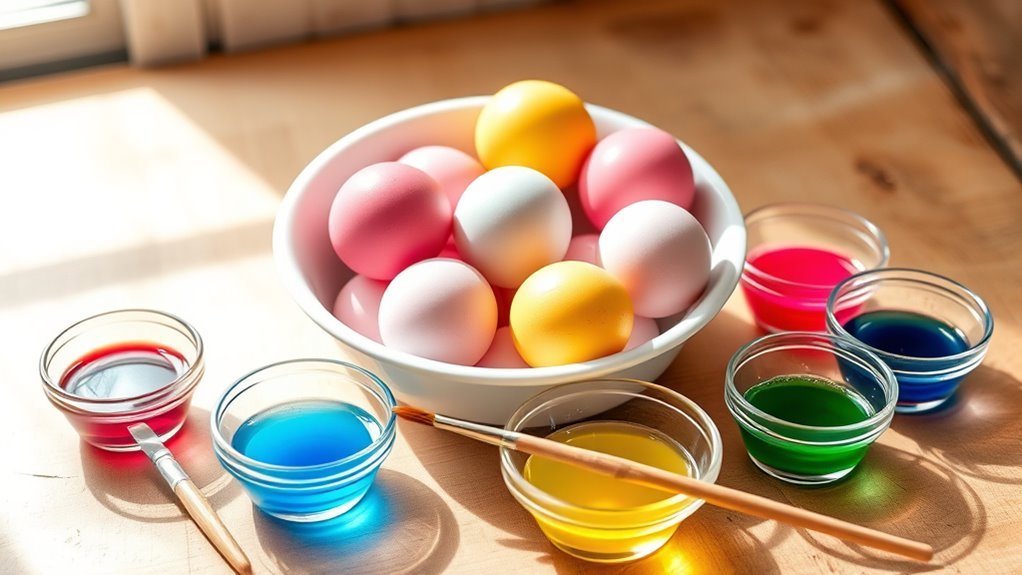
Optimal Dye Concentrations
Although achieving the perfect egg color depends on several factors, adjusting the concentration of food coloring in your dye bath is key to getting the exact shade you want. Start by dissolving 1 teaspoon of gel food coloring in 1 cup of boiling water for a vibrant base. Add 1 tablespoon of white vinegar to help the color stick—except for Pink, Fuchsia, Purple, and Royal Blue, which don’t need vinegar.
If you want richer, more saturated colors, simply add more drops of food dye. For lighter pastel shades, reduce the amount of dye or shorten the soaking time. Make sure to mix the dye bath thoroughly before submerging your eggs, so the color applies evenly and consistently across every egg.
Step-by-Step Guide to Dyeing Eggs
Before you start dyeing, prepare your dye solution by mixing half a cup of hot water, a teaspoon of vinegar, and 10 to 20 drops of food coloring for each color you want to use. Gently place hard-boiled eggs into the dye, making sure they’re fully submerged. Soak them for 5 to 10 minutes to achieve vibrant results.
Stir the dye occasionally to ensure even coloring, and avoid overcrowding the eggs in the solution. When the eggs reach your desired shade, use tongs or a spoon to carefully lift them out. Place the eggs on a wire rack or paper towels to dry completely.
Wait until they’re fully dry before handling or decorating further to prevent smudging or color transfer. Following these steps makes dyeing eggs with food coloring simple and fun.
How Long to Soak Eggs for Best Color
When you soak eggs in food coloring, the time you leave them in the dye directly affects the intensity of the color. Soaking eggs for 5 to 10 minutes usually gives you vibrant, evenly saturated colors perfect for most designs.
If you want deeper, richer shades, try soaking eggs for 15 to 20 minutes, but keep an eye on them to avoid uneven patches. For lighter, pastel tones, dipping eggs for just 2 to 3 minutes works well.
Be careful not to soak eggs longer than 20 minutes with regular food coloring, as the color may become too intense or patchy. Sticking to these soaking times will help you achieve the best results with food coloring every time.
Tips for Bright, Even Color
To get bright, even colors, make sure you add vinegar to your dye mixture—it really helps the color adhere. Don’t rush the soaking process; letting your eggs sit for at least 5-10 minutes ensures the color covers evenly.
Keep these tips in mind, and your eggs will come out vibrant and smooth every time.
Use Vinegar For Vibrancy
Adding just one tablespoon of vinegar to your dye solution boosts color vibrancy by helping the dye absorb better into the eggshell. Vinegar’s acetic acid temporarily softens the eggshell surface, allowing colors to penetrate more evenly and appear brighter. When you add vinegar before dipping the eggs, it promotes consistent coloring and helps the colors bond firmly to the shell.
Skipping vinegar often results in dull, less vibrant eggs because the dye struggles to stick properly. Plus, vinegar helps your colors last longer without fading. For the best, most vivid results, always mix vinegar into your food coloring solution before soaking your eggs.
This simple step makes a big difference in achieving beautiful, eye-catching colored eggs every time.
Soak Eggs Sufficiently
Although it might be tempting to dip your eggs quickly, soaking them for at least five minutes guarantees vibrant, even color coverage that really stands out. When dyeing Easter eggs, make sure to fully submerge each egg in hot dye to help the color absorb evenly. Gently agitate the eggs occasionally to avoid uneven spots.
If you want a deeper hue, especially with darker colors, extend the soaking time beyond ten minutes. Once soaked, rinse your eggs carefully and dry them thoroughly to prevent smudging and keep the color bright. Taking these steps ensures your dyed Easter eggs come out with rich, uniform tones that impress every time.
Soak eggs patiently—you’ll see the difference in every shade.
Dry and Handle Dyed Eggs Without Smudges
Once you’ve dipped your eggs in vibrant colors, you’ll want to let them dry completely for at least 15 to 30 minutes on a wire rack or paper towels to avoid smudges. After removing eggs from the dye, gently pat them dry with a paper towel to absorb excess moisture without disturbing the color.
When you handle eggs, make sure your hands are clean and dry—or wear gloves—to prevent oils or moisture from causing smudges. Handle eggs by their sides or ends rather than the dyed surface to minimize contact and preserve the design.
Once dried, store your dried eggs in a single layer in an egg carton or on a wire rack to keep them from rolling around and smudging during storage.
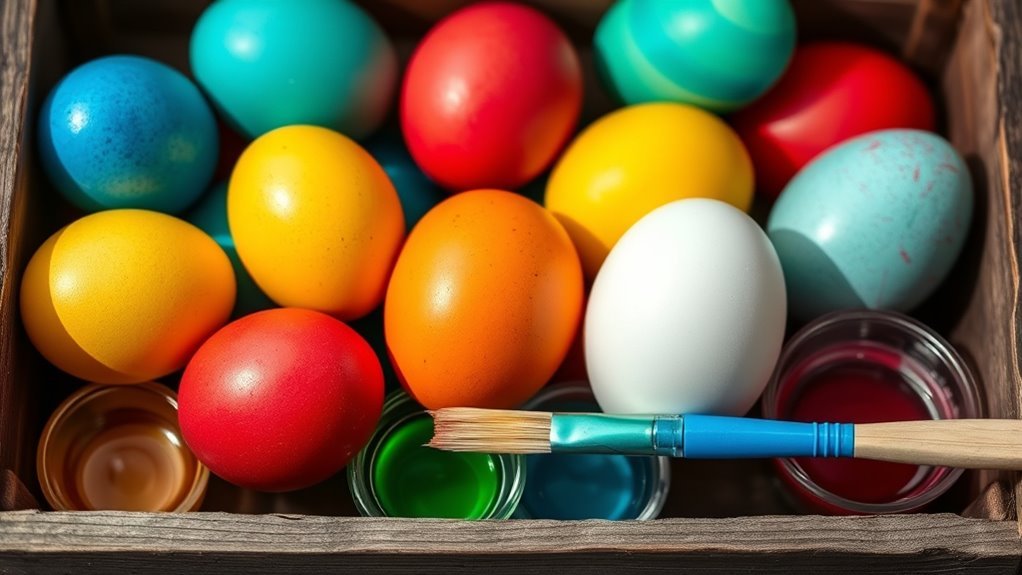
Creative Egg Dyeing Variations and Patterns
If you want to take your egg dyeing beyond solid colors, experimenting with variations and patterns can bring your creations to life. Start by dropping multiple food coloring shades into one dye bath to create marbled or gradient effects on your colored eggs. Wrap rubber bands or use wax resist methods before you dye eggs to achieve striped or tie-dye patterns.
Slightly crack the eggshells before dipping them into dye for unique crackled or spiderweb designs. You can also dip eggs into different colors one after another or use sponges to layer colors for multicolored looks. For subtle texture and variation, try combining natural dyes with food coloring techniques.
These creative approaches let you make truly eye-catching colored eggs.
Cleaning Up After Dyeing
After dyeing, you’ll want to tackle any stains quickly using paper towels to blot spills before they set.
Wash your bowls and utensils with warm, soapy water right away to keep dye from lingering. Taking these steps helps keep your workspace clean and your supplies ready for next time.
Removing Dye Stains
Although dyeing eggs can be a fun and colorful activity, it often leaves behind stubborn stains on your hands, clothes, and surfaces. To tackle these dye stains quickly, here’s a simple stain removal guide:
- For countertops and surfaces, use equal parts white vinegar and water to wipe away stains. For tougher spots, apply a baking soda paste, let it sit, then scrub gently.
- If your clothes get stained, soak the area in warm water mixed with a few drops of dish soap before washing as usual.
- To clean dye off your hands, rub them with a baking soda and water paste or use lemon juice to break down the color.
Following these steps helps you remove dye stains effectively and keeps your workspace and skin clean.
Cleaning Dyeing Supplies
Keeping your hands, clothes, and surfaces free of dye stains is just part of the cleanup process. After dyeing, wash your spoons, cups, and bowls immediately with hot, soapy water to remove any leftover food coloring. Use paper towels or disposable cloths to wipe down surfaces that may have been stained during the process.
For stubborn stains on countertops or trays, apply a baking soda and water paste or a mild household cleaner, then scrub gently. Don’t forget to rinse and dry all utensils and containers thoroughly to prevent food coloring from lingering or causing future stains.
Store any leftover food coloring in airtight containers, label them clearly, and keep them sealed to avoid spills and contamination. Proper cleaning guarantees your supplies are ready for your next egg coloring session.
Storing Dyed Eggs for Later Enjoyment
When you want to enjoy your beautifully dyed eggs later, store them carefully in a single layer inside an airtight container to avoid smudging and preserve their vibrant colors. Proper storage is key to keeping your dyed eggs fresh and safe to eat.
Store dyed eggs in a single layer inside an airtight container to keep colors vibrant and prevent smudging.
Follow these tips for ideal storage:
- Keep the container refrigerated at 40°F (4°C) and consume the eggs within one week.
- Handle the eggs gently to prevent cracking or chipping the shells.
- For delicate designs or natural dyes, wrap each egg in tissue paper or a soft cloth.
Don’t forget to label your container with the storage date. This way, you’ll always know when your dyed eggs are at their best for later enjoyment.
Frequently Asked Questions
How to Use Food Coloring to Color Eggs?
You mix hot water, vinegar, and food coloring, then soak your hard-boiled eggs in the mixture. Let them sit for several minutes, remove carefully, and dry.
Adjust soaking time or drops for deeper colors.
How to Get Food Coloring to Stick to Eggs?
You can get food coloring to stick to eggs by adding vinegar, which boosts dye absorption by 30%.
Make sure eggs are cool and dry, then soak them for at least 5 minutes for vibrant, lasting color.
Do You Need Vinegar to Dye Eggs With Food Coloring?
You don’t need vinegar to dye eggs with food coloring, but adding it helps the color stick better and appear more vibrant.
If you skip it, colors might be less bright, but the dye will still work fine.
How Long Does It Take to Dye Eggs With Food Coloring?
Think of dyeing eggs like painting a canvas—5 to 10 minutes will give you bold colors, but if you want softer pastels, dip them for just 2 to 3 minutes.
You can always go darker by waiting longer!
Conclusion
Now that you’ve mastered these 10 easy steps, your eggs will look so vibrant and perfect they might just start a color revolution! Imagine your friends begging for your secret dyeing skills, while you effortlessly create masterpieces that could brighten up the darkest winter day.
So grab those food colorings, get creative, and turn your ordinary eggs into dazzling works of art—because once you start, there’s no going back to boring eggs again! With these simple food coloring techniques, your egg decorating game will be stronger than ever. Enjoy the fun of coloring eggs and make every holiday celebration more colorful and memorable!