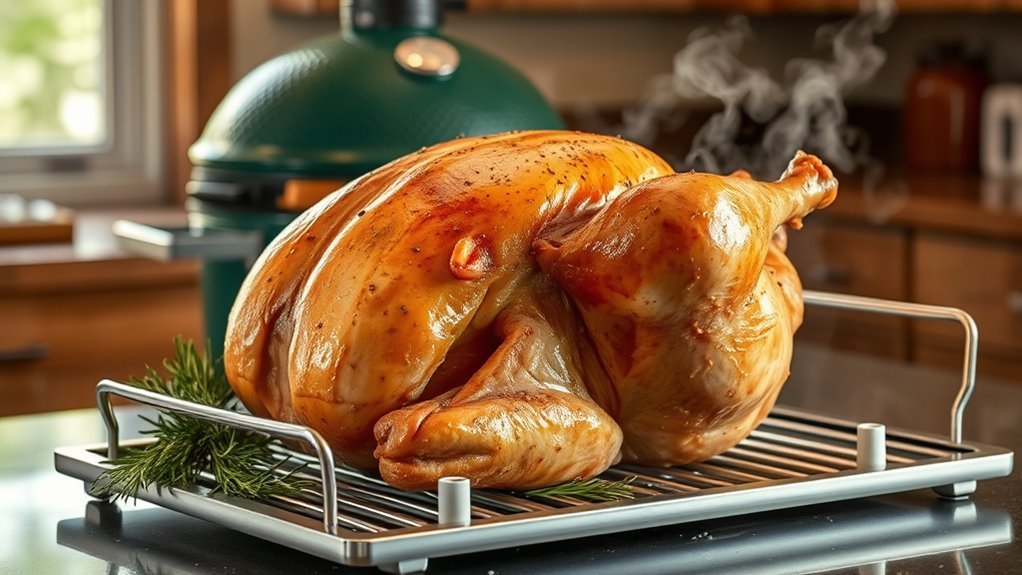
10 Steps to Cook Perfect Turkey in a Big Green Egg
Choose a high-quality turkey and brine it overnight for juicy, flavorful meat. This essential step ensures your turkey stays moist and tender throughout cooking.
Let it air dry in the fridge for crispy skin, which adds a delightful texture to your meal.
Season and stuff the turkey loosely with herbs and fruit to enhance flavor without overpacking.
Set your Big Green Egg to 350°F, using a drip pan filled with broth and aromatics to keep the environment moist and aromatic.
Roast the turkey until the internal temperature reaches 160°F in the breast and 175°F in the thigh.
Rest the turkey covered before carving to lock in juices and improve tenderness.
Follow these steps, and you’ll uncover tips for perfect slicing and savory gravy, making your turkey cooked in the Big Green Egg a true centerpiece.
Choose and Prep Your Turkey for the Big Green Egg
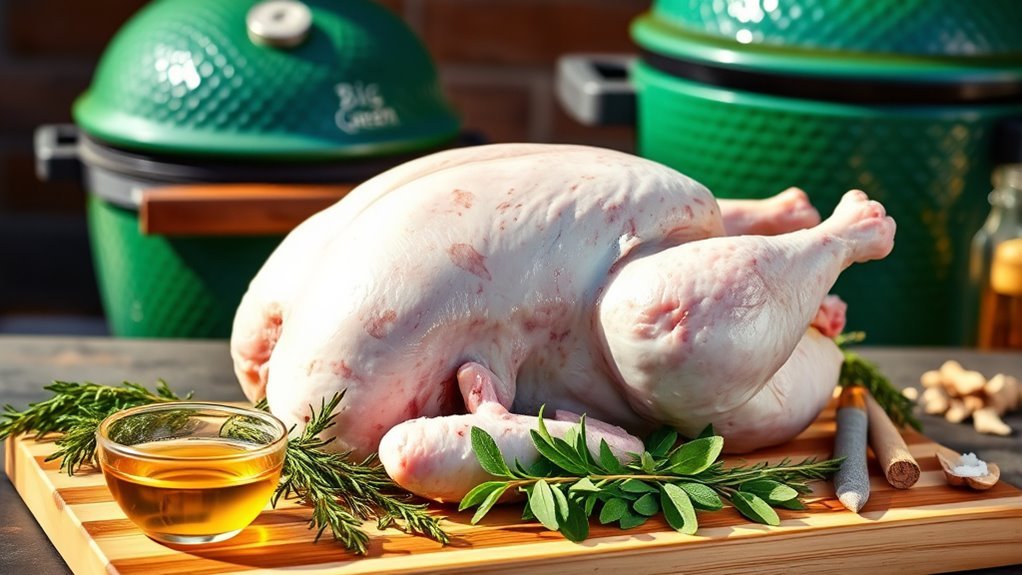
You are trained on data up to October 2023. When cooking turkey on your Big Green Egg, start by selecting a high-quality, fresh or fully thawed bird. Thaw it completely in the refrigerator, allowing 24 hours for every 4 to 5 pounds. This guarantees even cooking and juiciness.
Next, season your turkey generously with herbs, spices, or a marinade to boost flavor. Avoid under-seasoning—this step is vital for a delicious result. Use a roasting pan with a rack to keep the turkey elevated, allowing heat to circulate evenly and preventing it from sitting in drippings.
Finally, preheat your Big Green Egg to 180°C (350°F) and set it up for indirect cooking with the ConvEGGtor. This prep sets the stage for a perfectly cooked turkey.
Brine Your Turkey: Wet, Dry, or Signature Style
Although brining might seem like an extra step, it’s essential for locking in moisture and boosting flavor in your turkey. Wet brining involves submerging your bird in a saltwater solution—use 3 cups of brine mixed with 2.5 gallons of water—for 12 to 24 hours. This method helps the meat stay juicy during cooking.
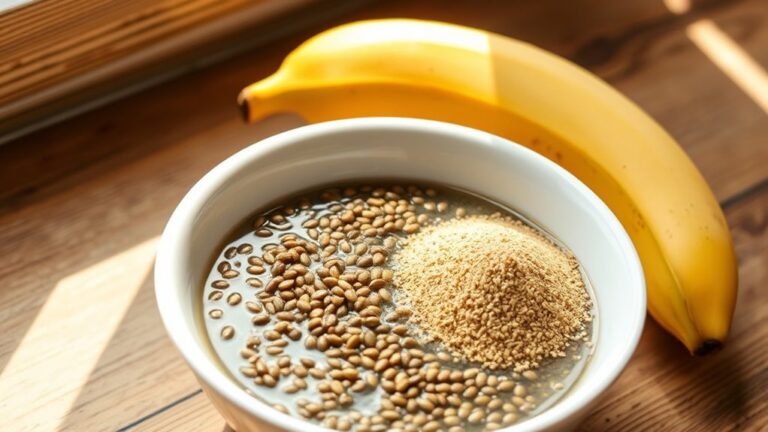
Alternatively, dry brining means rubbing the turkey with salt and spices, then refrigerating it uncovered for several hours. This enhances flavor and improves skin texture. For a unique twist, try Lane’s BBQ Signature Brine, which adds apple cider vinegar powder, Herbes de Provence, and Sage for complex flavors.
After brining, always rinse your turkey thoroughly and pat it dry before moving on to air drying for crispy skin.
Air Dry the Turkey for Crispy Skin
Once you’ve rinsed and patted your turkey dry after brining, let it air dry uncovered in the refrigerator for several hours. Place the turkey on a wire rack set over a sheet pan to allow air circulation all around. This air dry process is essential because it helps the skin dehydrate and become translucent, almost like parchment paper.
Season and Stuff the Turkey for Extra Flavor
You’ll want to choose aromatic ingredients like apple, lemon, and onion to stuff the turkey cavity for added moisture and subtle sweetness. Make sure to stuff loosely to allow even cooking and avoid overpowering flavors.
Don’t forget to season the skin and meat well, balancing herbs and spices to boost overall flavor.
Choosing Aromatic Stuffing Ingredients
When seasoning and stuffing your turkey, choose aromatic ingredients like sliced apple, lemon, and onion to infuse moisture and subtle sweetness into the cavity. These aromatics not only add flavor but also help keep the meat juicy during roasting. Add herbs such as sage or Herbes de Provence alongside the aromatics to deepen the taste.
Be careful not to overstuff the cavity; loosely pack the stuffing to ensure proper air circulation and even cooking. Overpacking can lead to undercooked meat and prevent the aromatics from releasing their full aroma. For an extra boost, consider adding a splash of stock, wine, or cider inside the cavity or drip pan.
This enhances the overall flavor without overwhelming the turkey.
Proper Cavity Stuffing Techniques
To boost your turkey’s flavor, season the cavity with fresh herbs and aromatics before loosely stuffing it with sliced apple, lemon, and onion. Proper cavity stuffing is vital—you want to add moisture and subtle sweetness without packing the cavity tightly. This guarantees proper airflow and safe cooking temperatures, preventing an undercooked interior.
Along with the fruit and onion, tuck additional herbs or aromatics directly inside the cavity to enhance flavor throughout the meat. Once stuffed, tie the legs with kitchen twine to keep the aromatics contained and maintain the turkey’s shape during roasting.
Balancing Flavors With Seasoning
Although seasoning might seem straightforward, balancing flavors with the right rub and stuffing techniques can transform your turkey into a mouthwatering masterpiece. To elevate your bird’s flavor profile, follow these steps:
- Generously apply a poultry-specific BBQ rub like Mad Max, blending garlic, salt, sugar, and lemon peel for bright, savory skin.
- Loosely stuff the cavity with sliced apple, lemon, and onion to add subtle sweetness and moisture without blocking heat circulation.
- Gently loosen the skin over the breasts to work in compound butter or extra rub, infusing seasoning directly into the meat.
- Use a signature brine with apple cider vinegar powder, herbs, and sage before air drying to enhance flavor penetration and ensure crispy skin.
This thoughtful balance of seasoning and stuffing guarantees juicy, flavorful turkey every time.
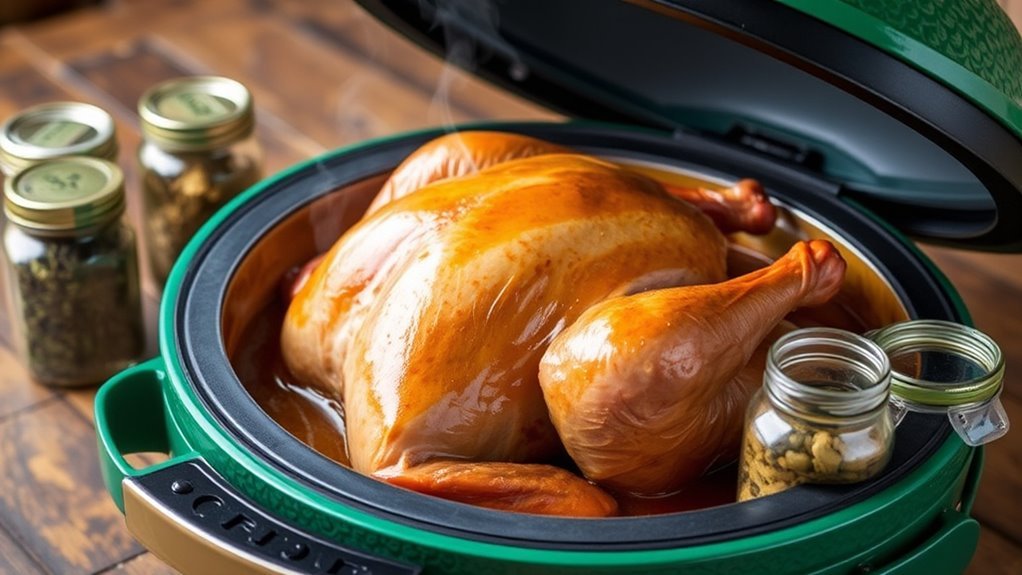
Set Up the Big Green Egg and Drip Pan
Before you start roasting, set up the Big Green Egg with the ConvEGGtor placed legs up to create indirect heat. This setup prevents direct flames from touching the turkey, ensuring even cooking.
Next, place a sturdy drip pan on the ConvEGGtor before adding the cooking grate. The drip pan catches flavorful drippings and helps maintain moisture inside the Big Green Egg.
Fill the pan with a mix of chicken stock, white wine, sliced apples, celery, and onion to infuse the turkey with subtle, savory notes. Make sure the drip pan sits stable and centered beneath where the turkey will rest.
This arrangement promotes even heat distribution and flavor enhancement. Once cooking is done, remove the drip pan to strain drippings for making rich gravy.
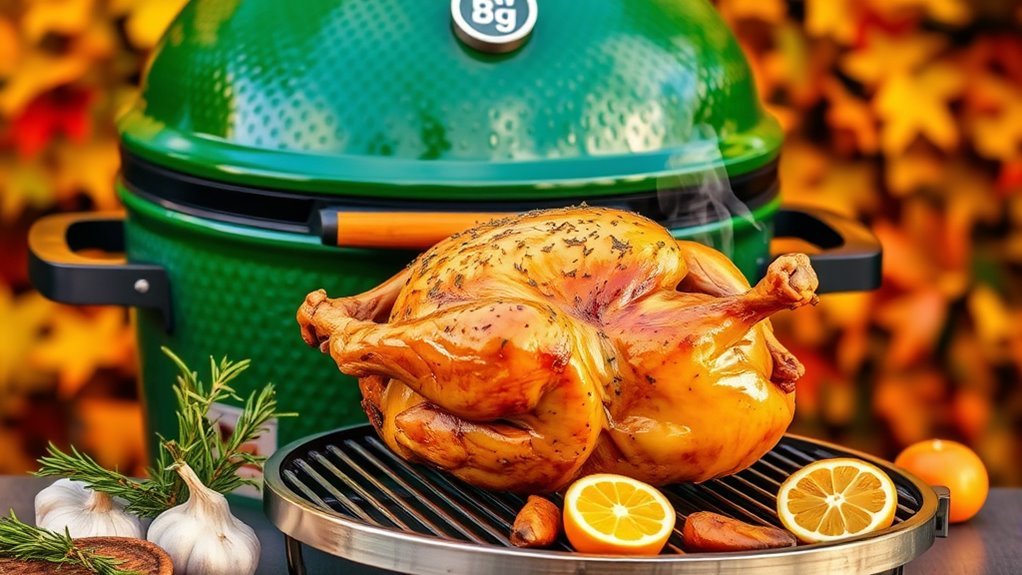
Roast the Turkey on the Big Green Egg at 325°F
Once you’ve preheated the Big Green Egg to a steady 325°F with the ConvEGGtor in place, you’ll want to position the turkey on a stainless steel rack over the aromatic-filled drip pan, ensuring even heat circulates during roasting.
Keep the lid closed to maintain consistent temperature and moisture, essential for juicy results. Here’s what to focus on next:
- Roast the turkey at 325°F for about 15 minutes per pound.
- Avoid opening the lid frequently to preserve temperature stability.
- Use a probe thermometer to track the turkey’s internal temperature.
- Aim for a breast temperature of 160°F and thighs at 175°F before removing the bird.
Monitor Internal Temperature for Perfect Doneness
You’ll want to insert your thermometer into the thickest part of both the breast and thigh to get accurate readings. Aim for 160°F in the breast and 175°F in the thigh to guarantee safety and juiciness.
Remember to let the turkey rest after removing it from the heat so the temperature can rise to the perfect doneness.
Target Temperature Guidelines
Although cooking a turkey to perfection requires attention, monitoring the internal temperature is the most reliable way to guarantee juicy, safe meat. When you roast your turkey in the Big Green Egg, aim for these key targets:
- Reach 165°F (74°C) in the breast for tender, safe white meat.
- Hit 175°F (79°C) in the thigh to perfectly cook dark meat without drying.
- Use a dependable probe thermometer inserted into the thickest part for accurate internal temperature readings.
- Check periodically, especially near the estimated finish, to avoid overcooking.
Once your turkey hits these temperatures, let it rest for 30-45 minutes. This resting time allows residual heat to finish cooking, locking in juices and flavor for a perfect roast every time.
Thermometer Placement Tips
When monitoring your turkey’s internal temperature, placing the thermometer correctly is vital for accurate readings. Insert the probe into the thickest part of the breast, avoiding bones to get a true internal temperature. Use a wire or wireless digital thermometer to track heat in real-time.
Make sure your thermometer placement keeps it secure and accessible without disrupting cooking. Check the temperature often, especially during the last hour, to confirm the turkey reaches 165°F (74°C). Remove the probe once done.
| Tip | Why It Matters | How to Do It |
|---|---|---|
| Insert into thickest part | Avoids false low readings | Place probe away from bones |
| Use digital thermometer | Enables real-time monitoring | Choose wireless or wired models |
| Secure placement | Prevents probe movement | Anchor probe firmly in place |
| Check frequently | Ensures perfect doneness | Monitor every 15-20 minutes |
Resting Temperature Importance
Even after taking your turkey off the Big Green Egg, its internal temperature continues to rise slightly during resting, which is why monitoring it is essential. Paying attention to the resting temperature helps you avoid overcooking while achieving juicier meat. Here’s why you should focus on it:
- Resting allows the internal temperature to equalize, ensuring even doneness.
- The USDA’s recommended 165°F for the breast can rise slightly during rest, enhancing safety and moisture.
- Tracking temperature with a meat thermometer prevents drying out or undercooking.
- Resting at least 30 minutes helps juices redistribute, boosting flavor and tenderness.
Rest the Turkey Before Carving
Since cutting into your turkey right after cooking causes the juices to escape, you should rest it for at least 30 to 45 minutes. Resting allows the juices to redistribute evenly throughout the meat, ensuring each bite stays moist and flavorful.
To keep your turkey warm without soggy skin, tent it loosely with foil during this period. This resting step also helps stabilize the internal temperature, preventing dry or tough meat when you carve. Don’t rush this vital phase; it’s long enough for temperature carryover but short enough to avoid cooling the bird too much.
Carve the Turkey Like a Pro
After letting your turkey rest and locking in those flavorful juices, it’s time to carve it like a pro. Follow these steps to make the process smooth and impressive:
- Remove the legs and thighs first by slicing through the skin and joint, then gently pull back and cut through the joint.
- Carve the breasts in one piece by slicing along the keel bone, following the natural curve of the ribcage.
- Slice the breast meat across the grain into medallions for the best tenderness and even seasoning.
- Arrange the dark meat and white meat separately on a platter for an attractive presentation that makes serving easy.
Master these carving techniques to showcase your perfectly cooked turkey with confidence and style.
Make Gravy From Drippings
Start by removing the drip pan from your Big Green Egg and straining the collected turkey drippings through a fine-mesh sieve. Let the strained drippings settle for about 12 minutes, then skim off excess fat from the surface. This gives you a clear, flavorful base for your gravy.
Next, melt butter in a saucepan and whisk in flour to form a roux, cooking it for 2-3 minutes until it turns golden and nutty. Gradually whisk in the strained turkey liquid, adding chicken stock if needed, and simmer until the gravy thickens to your preferred consistency.
Finally, season with salt, pepper, herbs like sage, or a splash of wine. Serve your rich, savory gravy alongside your carved turkey for the perfect finishing touch.
Frequently Asked Questions
How Long Does It Take to Cook a Turkey on the Big Green Egg?
You’ll need about 3.75 hours to cook a 15-pound turkey at 325°F on the Big Green Egg.
Adjust time by 15 minutes per extra pound and use a probe thermometer to guarantee it’s perfectly cooked.
Is It Better to Smoke a Turkey at 225 or 350?
You’ll get better flavor and juicier meat smoking at 225°F, though it takes longer.
If you’re pressed for time, 350°F cooks faster but sacrifices some smokiness and tenderness.
Choose based on your priorities.
How Many Minutes Does It Take to Cook a Turkey 14 Lbs in a Green Egg or a Kamado?
When it comes to cooking a 14-pound turkey in your Green Egg, expect around 3.5 to 4 hours at 325°F.
Don’t put all your eggs in one basket—monitor internal temp for juicy perfection.
What Are Some Common Mistakes When Using a BGE?
You’ll mess up by overstuffing the turkey, skipping preheating, using too much direct heat, opening the lid too often, ignoring internal temps, or neglecting a drip pan.
Avoid these to get juicy, evenly cooked results every time.
Conclusion
Now that you’ve mastered these marvelous methods, your turkey will turn out tender, tasty, and tempting every time. With careful care, clever seasoning, and consistent cooking on your Big Green Egg, you’ll wow your guests with wonderful flavors and wonderfully crispy skin.
Remember, resting and carving carefully completes the cooking circle. So, savor the success, share the satisfaction, and celebrate your scrumptious, smoky, sensational turkey feast!
By following these 10 steps to cook perfect turkey in a Big Green Egg, you ensure a delicious meal that impresses every time. Enjoy the juicy, flavorful results and the joy of outdoor cooking mastery!