How to Dye Eggs With Food Dye in 7 Easy Steps
Start by hard-boiling your eggs and cooling them completely to avoid cracks. This essential step ensures your eggs are ready for the dyeing process and helps the colors adhere better.
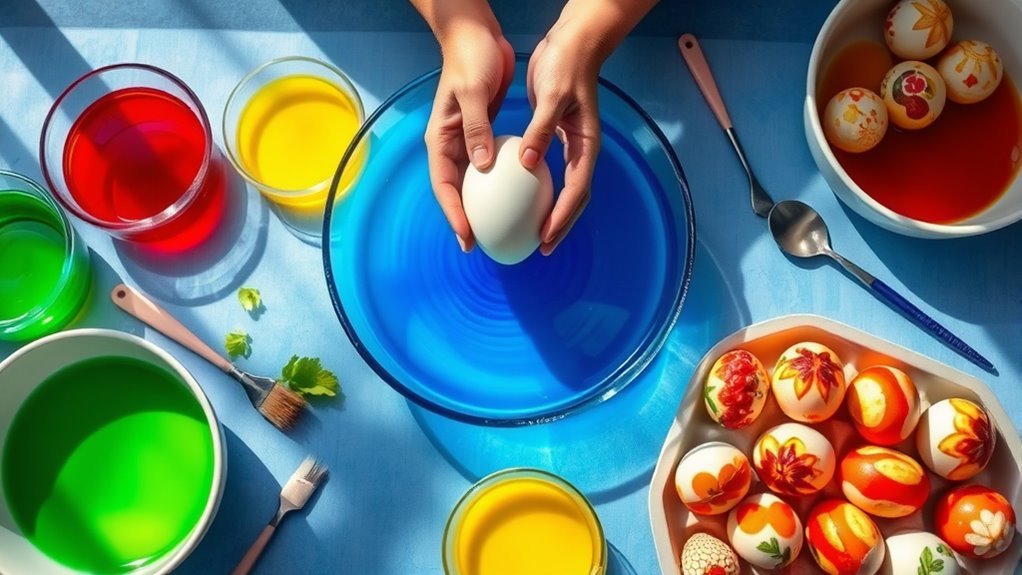
Set up a workspace covered with newspaper to catch spills and make cleanup easier. Mix hot water, vinegar, and food dye to create vibrant dye baths that will give your eggs bright, festive colors.
Use tongs to dip eggs fully into the dye for 5-10 minutes, turning them occasionally for even color coverage.
For creative patterns, try using wax or rubber bands before dyeing.
Once dyed, dry eggs carefully to prevent smudges and store them away from direct sunlight to keep colors bright.
Keep going to discover creative tips and tricks that make egg dyeing even more fun and colorful.
How to Hard-Boil and Cool Eggs for Dyeing
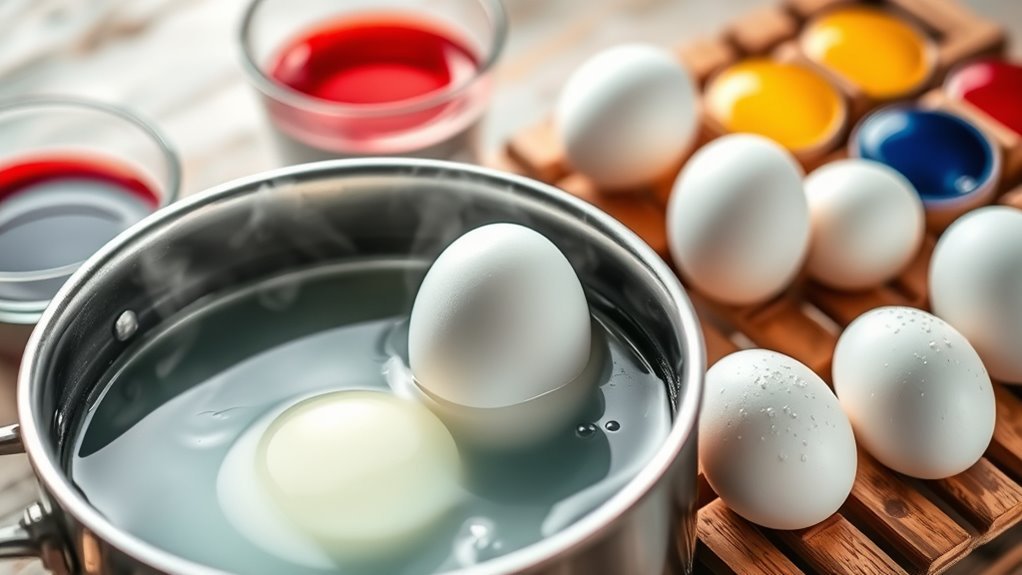
Before you start dyeing your eggs, you need to hard-boil them properly. Place your eggs in a saucepan and cover them with cold water, making sure the water is at least an inch above the eggs. Bring the water to a rolling boil over medium-high heat, then let it boil for 9 to 12 minutes for fully cooked eggs.
Once done, immediately transfer the eggs to a bowl of ice water or run them under cold tap water to cool eggs quickly. Let them sit in the cold water for at least 10 to 15 minutes to prevent overcooking and make peeling easier.
Finally, dry your eggs thoroughly with a paper towel or cloth before dyeing eggs, so the colors stick evenly and beautifully.
Prepare Your Workspace to Avoid Messes

Before you start dyeing, cover your work surface with newspaper or a plastic tablecloth to catch any drips. Organize your dye cups and supplies neatly to keep everything within reach and avoid spills.
Also, make sure your workspace is well-ventilated to keep the air fresh and safe.
Cover Surfaces Thoroughly
While dyeing eggs, you’ll want to cover your work surface thoroughly to prevent stains and make cleanup easier. Start by laying down newspaper, a plastic tablecloth, or a disposable tarp on your dyeing surface to catch any drips or spills. Place a tray or shallow dish under your egg-dyeing bowls to protect your table further.
Keep paper towels or old rags handy to wipe up spills immediately, maintaining a clean work area throughout the process. Working in a well-ventilated space helps reduce any strong vinegar or dye fumes, making your cleaning tasks less troublesome.
Taking these simple steps ensures your workspace stays tidy, letting you focus on creating vibrant, beautifully dyed eggs without worrying about messes.
Organize Supplies Neatly
Even if you’ve covered your workspace well, keeping your supplies organized will help you work more efficiently and avoid unnecessary messes. To keep your dyeing supplies in order and make clean up easier, follow these steps:
- Arrange all dye bowls, eggs, vinegar, and food coloring within easy reach.
- Use separate containers for each dye color and label them to prevent mixing.
- Store small items like rubber bands and stickers in designated bowls or trays to avoid losing them.
- Keep wet wipes or paper towels nearby to quickly clean up any spills or splashes as you go.
Ensure Proper Ventilation
Since dyeing eggs involves vinegar and food coloring, you’ll want to work in a well-ventilated space to keep the air fresh and avoid buildup of fumes. Choose a kitchen with open windows or an outdoor area where fresh air circulates freely. Turn on exhaust fans if you have them to improve ventilation.
Avoid placing dye or vinegar containers near heat sources or open flames to reduce fire risks. Protect your workspace with newspaper or a tarp to catch spills and make cleanup easier. Once you’ve finished dyeing, allow your eggs ample time for drying in the same ventilated area.
This helps prevent lingering odors and ensures the eggs dry thoroughly before you handle them, keeping your workspace safe and mess-free throughout the process.
How to Make Bright Food Dye Baths
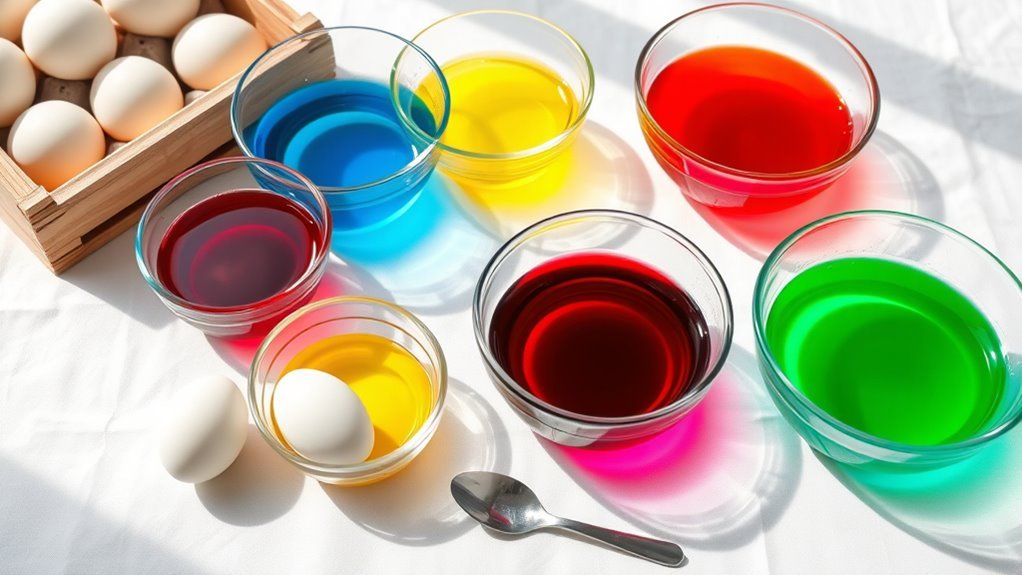
To create bright food dye baths, start by mixing 1/2 cup of hot water with 1 teaspoon of vinegar and 10-20 drops of vibrant food coloring gels or liquid dyes. This combination boosts color saturation and helps the egg dye adhere better.
Mix hot water, vinegar, and vibrant food coloring for a bright, long-lasting dye bath.
Here’s how to make your dye bath vivid:
- Use hot water to dissolve the food dye thoroughly.
- Add vinegar to intensify the color and help it stick to the eggshell.
- Choose gels or liquid food dyes for brighter, more saturated hues.
- Stir the mixture well to ensure even color distribution.
This method guarantees your eggs soak in a rich, bright bath, resulting in beautifully colored eggs with vibrant, long-lasting hues.
Tips for Evenly Dipping and Coloring Eggs
After preparing bright and vibrant dye baths, the next step is to focus on how you dip your eggs to guarantee an even, consistent color. When you dye eggs, fully submerge them in the food dye bath for 5 to 10 minutes, turning them occasionally. This evenly dipping technique prevents streaks and uneven color.
Use a slotted spoon or tongs to gently move the eggs without damaging their shells. Keep the dye bath warm to ensure the color sets uniformly. Once dyed, place the eggs on a wire rack or paper towels without touching their surfaces to avoid smudges.
If you want multi-colored eggs, dip different parts separately, letting each color set briefly before dipping the next. These tips help you achieve perfectly colored eggs every time.
Easy Ways to Add Patterns and Designs
You can create striking patterns by drawing on your eggs with wax crayons before dyeing, letting the wax resist the color and reveal your design. Try dipping your eggs in stages, using different colors to build layered effects that add depth and interest.
These simple techniques make your eggs stand out with unique, creative patterns.
Wax Resist Techniques
Although dyeing eggs might seem straightforward, using wax resist techniques lets you add unique patterns and designs effortlessly. By applying wax before dyeing, you create striking contrasts where the color won’t penetrate. Here’s how to get started:
- Use a wax crayon or waterproof marker to draw simple designs on your egg; the wax resists the dye.
- For intricate patterns, apply hot wax with a small brush or glue gun.
- Let the wax cool completely before dipping the egg in dye to avoid smudging.
- After dyeing, melt the wax gently with a heat tool or hairdryer to reveal the design beneath.
These wax resist methods give your eggs artistic flair without complicated steps.
Layered Dye Effects
When you layer dyes on eggs using rubber bands, wax, or waterproof tape, you can create striking patterns that stand out. Start by applying your chosen material to block areas of the egg before dipping it in the first dye bath. After the egg dries slightly, remove or adjust the bands or tape, then dip it into a second, contrasting color.
Wax or crayon designs work well because they resist the dye, revealing unique patterns once the wax is removed. For more detailed layered dye effects, begin with lighter colors and gradually add darker shades or use markers for fine lines. Remember to let each layer dry completely to avoid smudging.
These easy techniques add depth and creativity to your dyeing Easter eggs process, making your designs truly pop.
How to Dry and Handle Eggs Without Smudges
Since dye on eggs can smudge easily, handling and drying them carefully is essential to preserving your designs. After dyeing eggs, place them on a paper towel or a drying rack to soak up extra moisture and prevent smudges.
Handle each egg gently by the ends or use a spoon or tongs to avoid touching the dyed surface.
Here are four tips to dry and handle eggs without smudges:
- Use a drying rack or paper towels right after dyeing eggs to absorb wetness.
- Hold eggs by the ends or tools, never the decorated areas.
- Let eggs dry completely in a cool, well-ventilated spot before moving them.
- Wear gloves or use a soft cloth to prevent fingerprints and smudges.
Store and Display Your Dyed Eggs Safely
To keep your dyed eggs fresh and vibrant, store them in an airtight container in the refrigerator once they’re completely dry. This prevents spoilage and keeps the colors from fading or smudging. Make sure your eggs are fully dry before storage to avoid dye transfer onto other items.
For storage, you can keep eggs in their original carton or on a plate or tray for stability. When it comes to display, arrange your dyed eggs in a basket or bowl lined with natural materials like straw or shredded paper for a charming presentation.
Frequently Asked Questions
How to Color Eggs With Food Dye?
You mix hot water, vinegar, and food dye, then dip cooled, hard-boiled eggs into the mixture. Let them sit for a few minutes, turning occasionally for even color.
Dry, then repeat with different colors if you want.
How to Dye Easter Eggs With Kids?
You’ll want to mix dye solutions, then let your kids dip cooled, boiled eggs into the colors. Encourage them to use rubber bands or crayons for patterns, and dry the eggs carefully on a rack or paper towel.
Do I Need Vinegar to Dye Eggs?
You don’t have to use vinegar, but you’ll get brighter colors, smoother coverage, and more vibrant results if you do.
Skip it, and your eggs might look dull, patchy, or unevenly dyed instead.
How to Get Food Coloring to Stick to Eggs?
You get food coloring to stick by soaking eggs in vinegar first, then dyeing them in hot water mixed with food coloring.
Let them soak for 5-10 minutes, then dry gently to avoid smudging.
Conclusion
Dyeing eggs with food coloring is a fun and easy way to get creative, especially since over 100 million eggs are dyed each Easter in the U.S. alone!
By following these simple steps, you’ll have vibrant, beautifully patterned eggs in no time. Remember to prep your workspace and handle your eggs gently to keep those colors bright and smudge-free.
Now, go enjoy the colorful tradition and impress everyone with your stunning designs! Using food dye to color eggs is a classic technique that brings festive cheer and endless creative possibilities.