How to Make an Egg Incubator in 5 Easy Steps
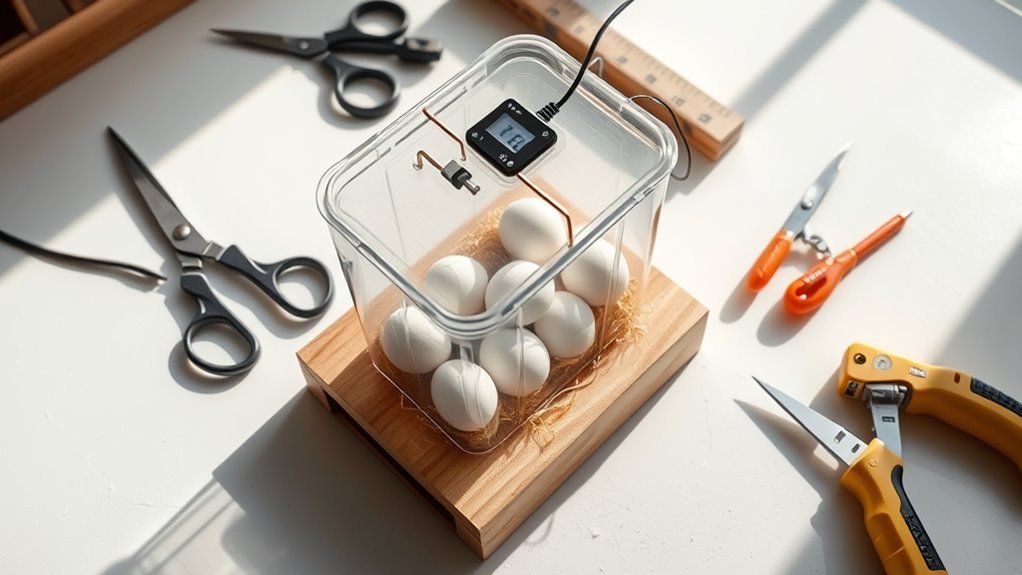
To make an egg incubator, start by choosing a well-insulated container like a Styrofoam cooler, adding ventilation holes and a clear window. This setup helps create the ideal environment for hatching eggs. Proper insulation is key to maintaining consistent temperature and humidity.
Next, install a reliable heat source and insulate carefully to keep the temperature steady. Add water trays or sponges to maintain proper humidity levels inside the incubator.
Use thermometers and hygrometers to monitor these conditions closely.
Finally, turn the eggs gently several times daily until three days before hatching. This ensures even development and increases hatching success. Follow these steps, and you’ll create the perfect environment for hatching success, with more tips to ensure great results.
Choose and Prepare Your Egg Incubator Container

When you choose your egg incubator container, pick one that’s well-insulated like a Styrofoam cooler or an old refrigerator to keep the temperature steady. Good insulation helps maintain a consistent temperature control and stable humidity level inside. Make sure the container has ventilation holes for proper air exchange without causing temperature drops.
Cut a small opening to fit your heating element securely, ensuring it won’t shift. Installing a transparent window lets you monitor temperature and check on the eggs without opening the incubator, preserving internal conditions. Use internal dividers or shelves to hold the eggs securely, promote airflow, and simplify cleaning.
With these steps, you’ll create a reliable, efficient environment that supports successful incubation from the start.
Install Heat Source and Insulate for Even Temperature

Although maintaining the right temperature is essential, installing a reliable heat source and proper insulation will guarantee even warmth throughout your incubator. Start by choosing a heat source like a 250-watt PTC ceramic heater or a low-wattage bulb for consistent warmth. Next, secure it on the ceiling or side to ensure even heat distribution inside the incubator interior.
Choose a reliable heat source and position it strategically for even warmth inside your incubator.
Proper insulation is key—use fiberglass or foam to create a “box within a box” that buffers external temperature changes. Finally, seal all gaps to prevent heat leaks and maintain temperature regulation.
- Select a reliable heat source for consistent warmth
- Position heat source to promote even heat distribution
- Apply insulation to stabilize internal temperature
- Seal gaps to avoid heat leaks and ensure temperature control
Use a thermometer to monitor and adjust temperature for consistent warmth.
Add Water Trays or Sponges to Control Humidity

Since proper humidity is vital for embryo development, you’ll want to add water trays or sponges inside your incubator. These water trays serve as a reliable water source to maintain consistent humidity throughout incubation. Soak sponges or fill trays with clean water, aiming for moisture levels around 40-50% to support proper embryo development.
Place multiple water trays at different spots inside to ensure even humidity control. Regular water refill is necessary to prevent drops in moisture levels, especially in dry environments. As the hatch date approaches, increase humidity by adding more water to improve the hatch rate and help chicks emerge without shell adhesion.
Use Thermometers and Hygrometers to Monitor Conditions
To guarantee your egg incubator maintains the ideal environment, you’ll need to use both thermometers and hygrometers to monitor temperature and humidity accurately. Using a digital thermometer and hygrometer together helps capture precise incubator conditions, although digital devices can sometimes give false readings.
Follow these steps to ensure accurate readings:
- Place devices at different points—near eggs and airflow sources—to detect gradients.
- Keep probes away from direct heat like light bulbs to avoid skewed temperature data.
- Regularly calibrate hygrometers using a salt test or compare them with trusted standards.
- Record daily temperature and humidity readings to track stability and adjust as needed.
Proper placement, calibration, and data recording guarantee your incubator maintains optimal temperature and humidity throughout incubation.
Turn and Handle Eggs Properly During Incubation
How often should you turn your eggs during incubation? You should turn eggs about 3-4 times daily, moving them 1/4 to 1/2 inch each time to guarantee even heat distribution and prevent embryo adhesion. Marking eggs with an “X” and “O” on opposite sides helps you keep track of proper rotation.
Use gentle handling throughout the incubation process to avoid harming embryo development. Remember to stop turning eggs three days before hatch—around day 18—to allow for correct hatch positioning. Avoid turning during these last days of incubation, as movement can disrupt the embryo’s position and reduce hatch success.
Consistent, careful turning and handling play a vital role in nurturing healthy embryos and achieving a successful hatch.
Frequently Asked Questions
How to Make an Incubator at Home Quickly and Easily?
You can quickly make an incubator by using a styrofoam cooler, adding a 25-watt bulb with a thermostat, placing a water tray for humidity, and turning eggs thrice daily to guarantee proper incubation and hatching.
This simple setup helps maintain the right temperature and moisture levels necessary for egg development.
Turning the eggs regularly ensures even heat distribution and prevents the embryos from sticking to the shell.
How to Set an Egg Incubator Step by Step?
Like a gardener tending seeds, you’ll set your egg incubator by adjusting heat to 99.5°F, maintaining 40-50% humidity, turning eggs thrice daily, and ensuring fresh air flows.
Nurture life until hatching day arrives.
How to Incubate an Egg Homemade?
You’ll keep fertilized eggs clean, maintain 99.5°F temperature, and 40-50% humidity.
Turn eggs thrice daily for 18 days, stop turning near hatch. Candle after a week to check development and remove infertile eggs.
How Do You Incubate Eggs for Beginners?
You keep eggs warm, keep eggs moist, and turn eggs gently. You’ll maintain 99.5°F temperature, 55-70% humidity, turn eggs thrice daily, candle after a week, then stop turning after day 18 to hatch successfully.
Conclusion
So, now that you’ve mastered building an egg incubator in just five easy steps, you’re basically an expert poultry scientist—no fancy lab required. Who knew keeping tiny eggs warm and cozy could be this straightforward?
Just remember, while it sounds simple, those eggs do need your constant attention—because apparently, nature doesn’t send a reminder app. So get ready to turn, monitor, and maybe even become a little obsessed.
Happy hatching! With your new egg incubator, you’re well on your way to successfully hatching eggs and enjoying the rewarding experience of poultry care.