How to Make Dippy Eggs in the Microwave in 3 Easy Steps
To make dippy eggs in the microwave, start by gently pricking a small hole in the bottom of each eggshell to let steam escape. This simple step is key to preventing cracks and ensuring even cooking.
Next, place your eggs in a microwave-safe bowl filled with warm water and cook on medium power for about 3 minutes, adjusting time if needed.
After cooking, transfer the eggs to cold water to cool before peeling carefully. This cooling step helps stop the cooking process and makes peeling easier.
Want to guarantee perfect texture and avoid cracks? Keep going to discover helpful tips and tricks for flawless results.
How to Prick and Prep Eggs for the Microwave

Before microwaving your eggs, you’ll need to prick them carefully to prevent steam buildup that can cause them to explode. Start by making sure your eggs are at room temperature to reduce the risk of cracking during cooking. Use a sharp pin or needle to prick a small hole at the bottom of each eggshell.
This piercing lets steam escape, avoiding dangerous pressure that leads to explosions. Apply steady pressure to create a clean, tiny hole without damaging the shell excessively. Handle the eggs gently after pricking to prevent further cracking.
Once prepped, place the eggs in a microwave-safe bowl filled with warm water, ready for cooking. Properly pricking and prepping your eggs ensures a smooth, safe microwaving process without unexpected messes.
Microwave Your Eggs: Timing and Power Settings

Once you’ve prepped your eggs by pricking them and placing them in warm water, it’s time to focus on cooking them correctly in the microwave. Set your microwave to low or 50% power to cook gently and avoid explosions. For soft boiled eggs, microwave at 800W for about 3 minutes.
If your microwave’s wattage is higher, increase cooking time by 30 seconds; if lower, reduce it accordingly. Always pierce the eggshell before cooking to let steam escape and prevent cracking. Since microwaves vary, monitor cooking time closely and perform test runs to find the perfect balance for your model.
Using water helps distribute heat evenly, ensuring your eggs cook softly and consistently every time you microwave them.
Cool and Peel Your Soft Boiled Eggs

After cooking your eggs, immediately place them in cold water for at least 2-3 minutes to stop the cooking process and cool them down. This step is essential for perfect soft boiled eggs and makes the peeling process easier.
Plunge eggs into cold water right after cooking to halt cooking and ease peeling.
When you’re ready to start peeling eggs, follow these tips:
- Gently tap the egg on a hard surface to crack the shell all over.
- Begin peeling shell from the wider end where the air pocket helps with egg shell removal.
- Use your fingers or a small spoon to separate the shell from the egg white carefully.
- Rinse peeled eggs under cold water to remove any shell fragments.
- Handle eggs delicately to maintain the tender egg white during peeling.
This peeling technique ensures a smooth peeling process and intact soft boiled eggs every time.
Frequently Asked Questions
How Long to Cook 3 Dippy Eggs?
You should cook 3 dippy eggs for about 3 minutes at 800W in the microwave.
If your microwave is stronger, reduce the time by 30 seconds; if weaker, add a bit more time for perfect results.
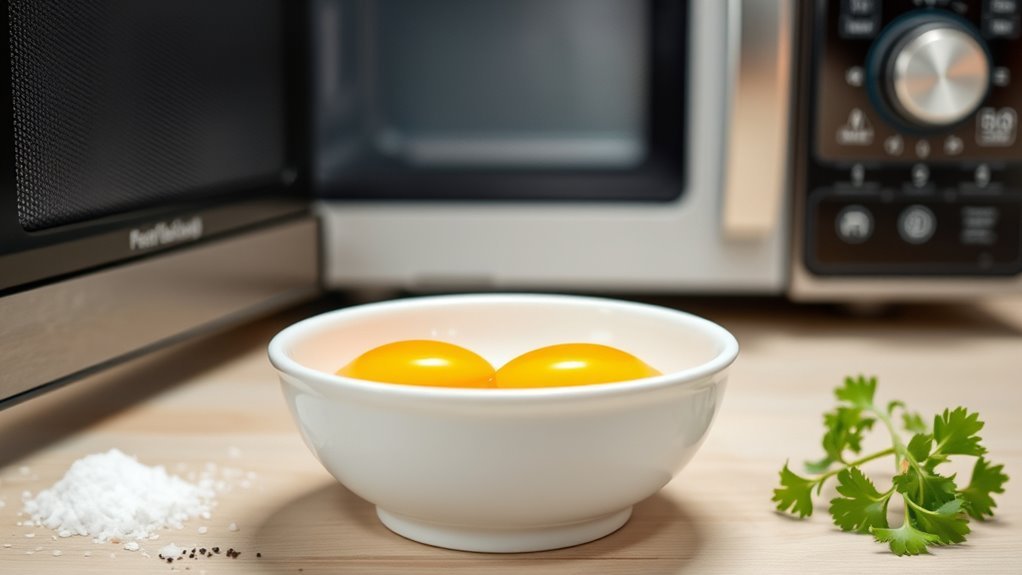
How to Cook an Egg in a Microwave?
You’ll cook an egg faster than a rocket launch by cracking it into a microwave-safe bowl, piercing the yolk, covering it, and microwaving on high for 30-50 seconds.
Let it rest, then enjoy your quick meal!
How to Make a 3 Minute Egg in the Microwave?
You prick the egg’s bottom, submerge it in hot water inside a microwave-safe bowl, then microwave at 50-60% power for about 3 minutes.
Let it cool briefly before peeling, and enjoy your perfect 3-minute egg!
How Long Does It Take to Cook a Runny Egg in the Microwave?
Think of your microwave as a quick sunbeam—cooking a runny egg takes about 30 to 50 seconds on high.
You’ll want to let it rest briefly so the heat spreads evenly for perfect dippable yolk delight.
Conclusion
Congrats, you’ve just mastered the ancient, nearly mystical art of microwaving eggs—because who needs a stove when you have science? In just three steps, you’ve turned fragile eggs into dippy delights without breaking a sweat or a shell (well, mostly).
So go ahead, impress your friends with your microwave wizardry and remember: if anyone questions your method, just tell them you’re pioneering the future of gourmet breakfast.
Bon appétit, kitchen rebel! Now that you know how to make dippy eggs in the microwave, you can enjoy this quick and easy breakfast anytime with minimal fuss.